Supermodel Makeup - Luxury Makeup For Women
Supermodel Makeup is the destination of choice for the most prestigious luxury makeup products that are used by the world's most famous fashion models and supermodels as seen on New York Fashion Week and Paris Fashion Week.
Foundation Face Makeup
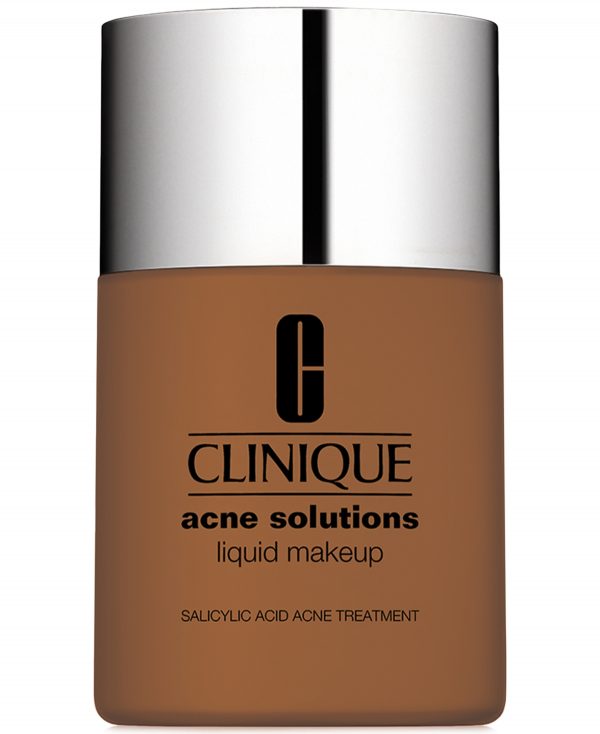
Clinique Acne Solutions Liquid Makeup Foundation, 1 oz. – Fresh Ginger
Foundation Face Makeup
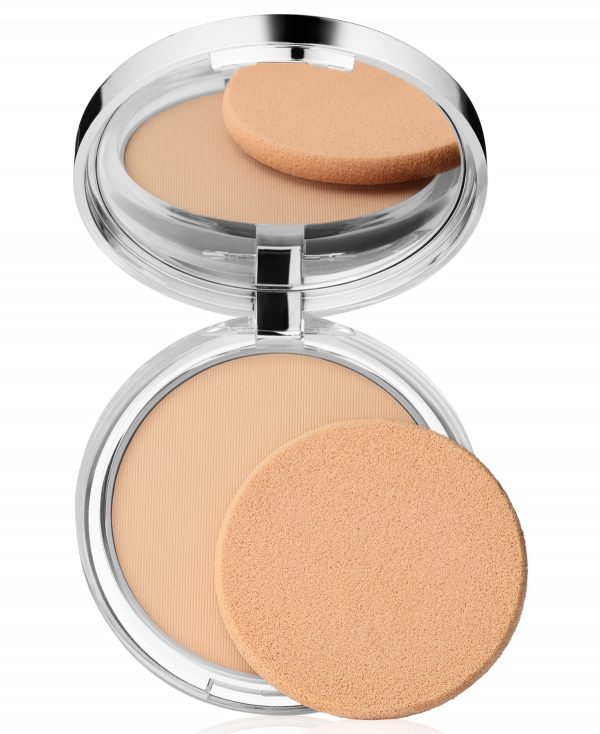
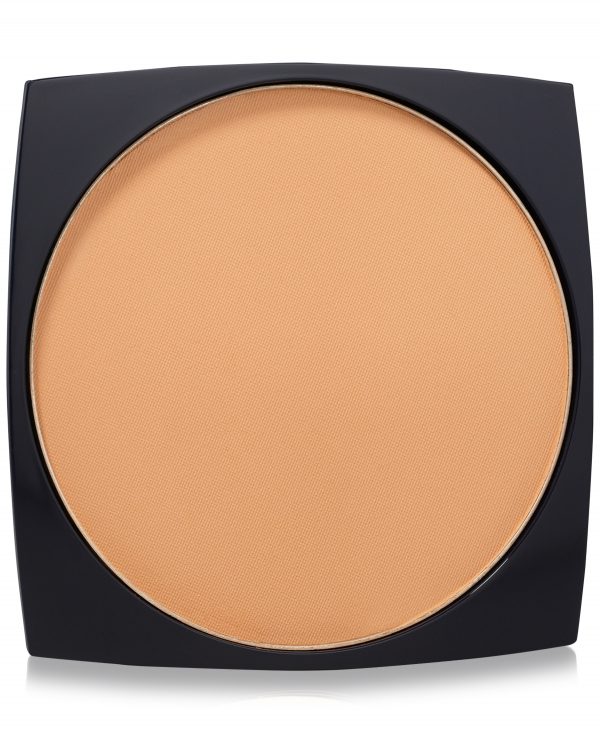
Clinique Superpowder Double Face Makeup Foundation, 0.35 oz – Matte Neutral
Foundation Face Makeup
Foundation Face Makeup
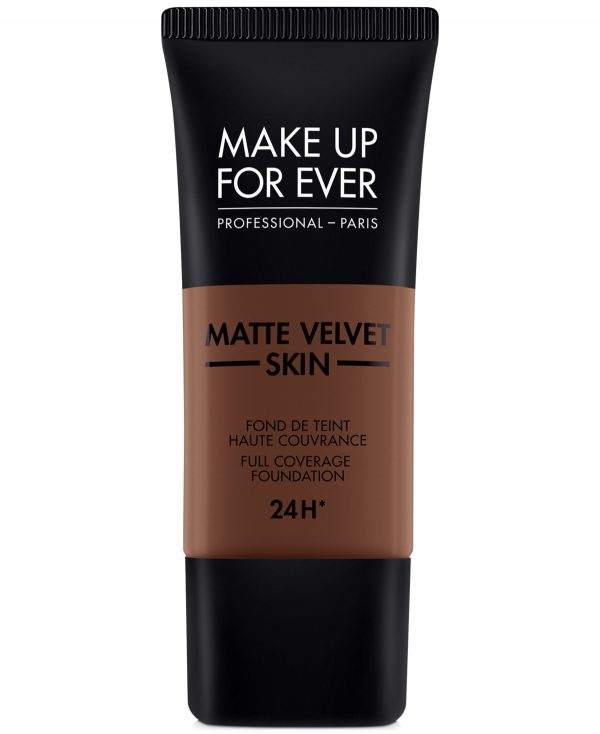
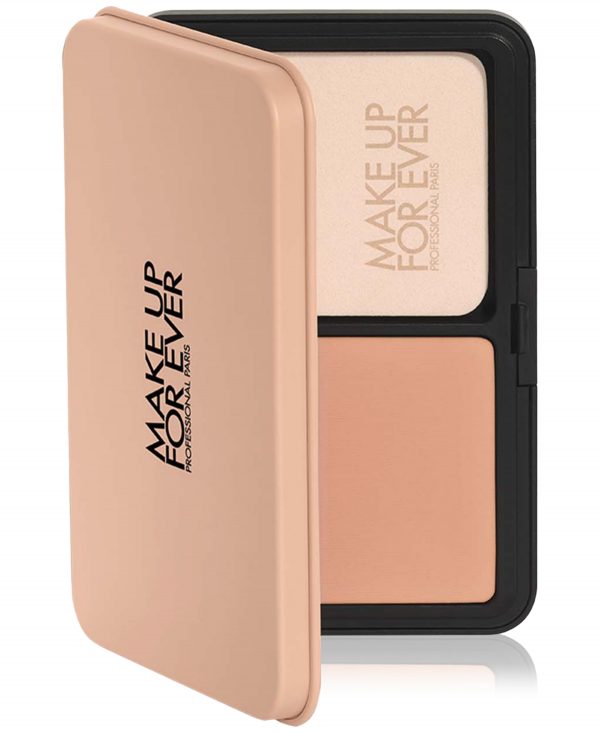
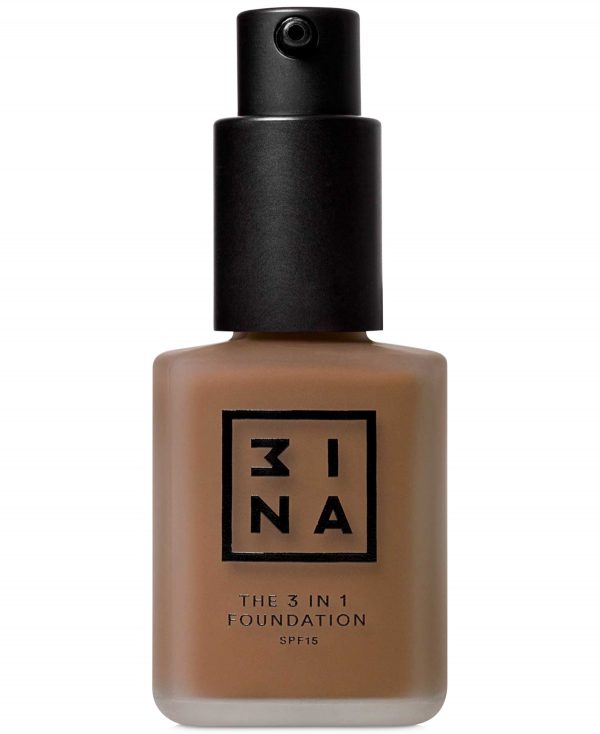
Make Up For Ever Matte Velvet Skin Full Coverage Foundation – R – Chocolate
Foundation Face Makeup
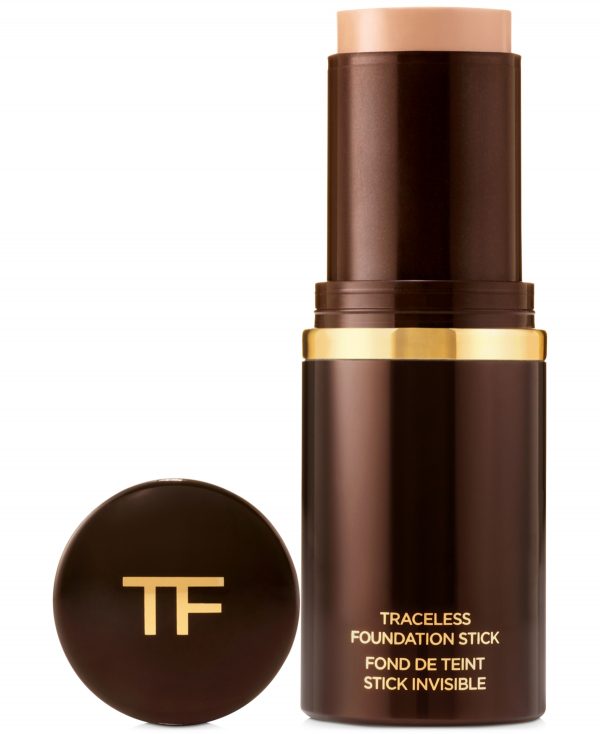
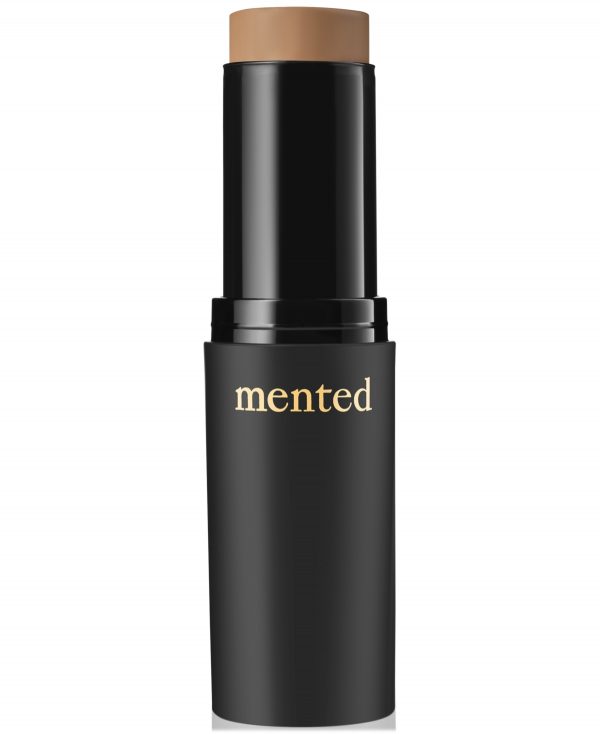
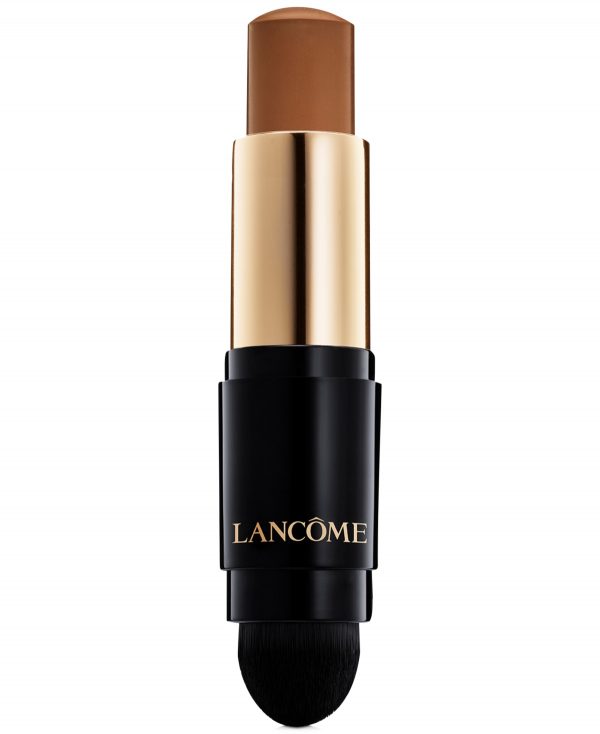
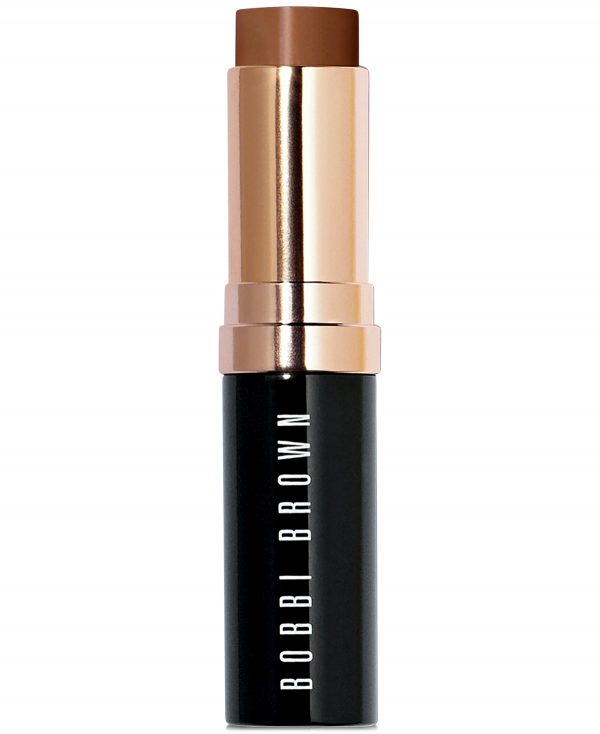
Tom Ford Traceless Foundation Stick – . Cool Almond-medium, cool rosy underton

Foundation Face Makeup
Foundation Face Makeup
Foundation Face Makeup
Foundation Face Makeup
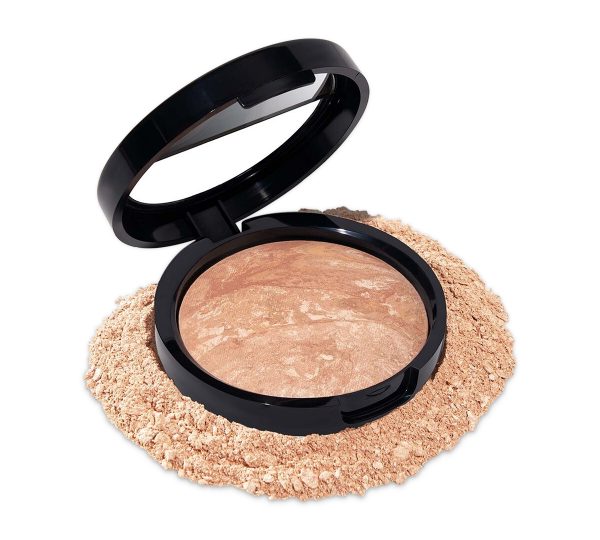
Fabulous Skin Powder Foundation Collection Created For Macys
Foundation Face Makeup
Estee Lauder Double Wear Stay-In-Place Matte Powder Foundation Refill – N Amber Honey
Foundation Face Makeup
Foundation Face Makeup
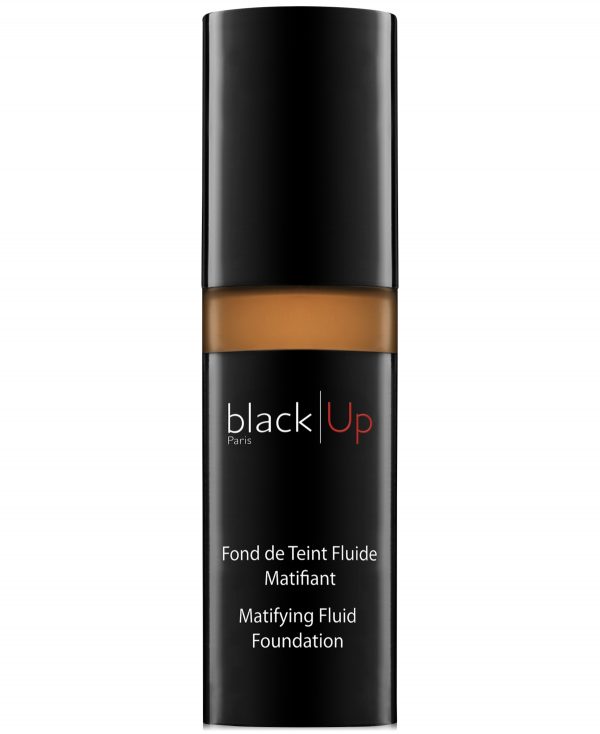
black Up Matifying Fluid Foundation, 1-oz. – NFL Pecan (dark/golden undertones)
Foundation Face Makeup
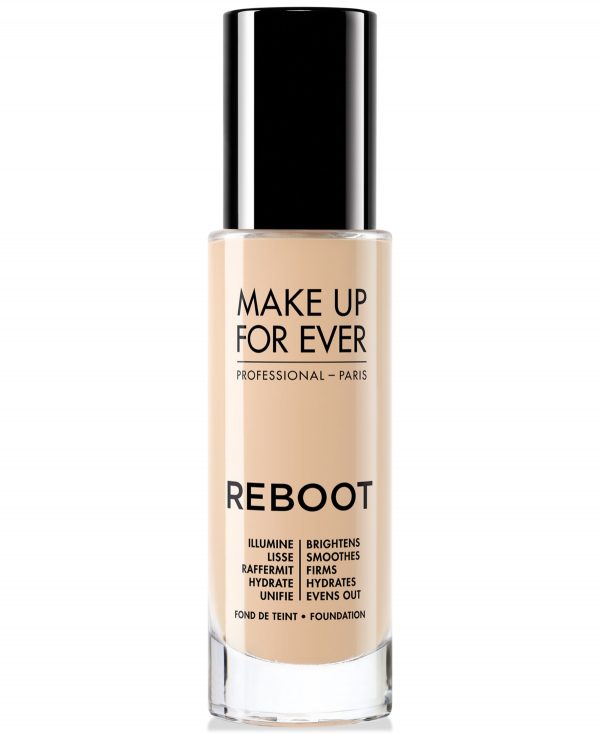
Make Up For Ever Reboot Active Care Revitalizing Foundation – Y – Porcelain
Foundation Face Makeup
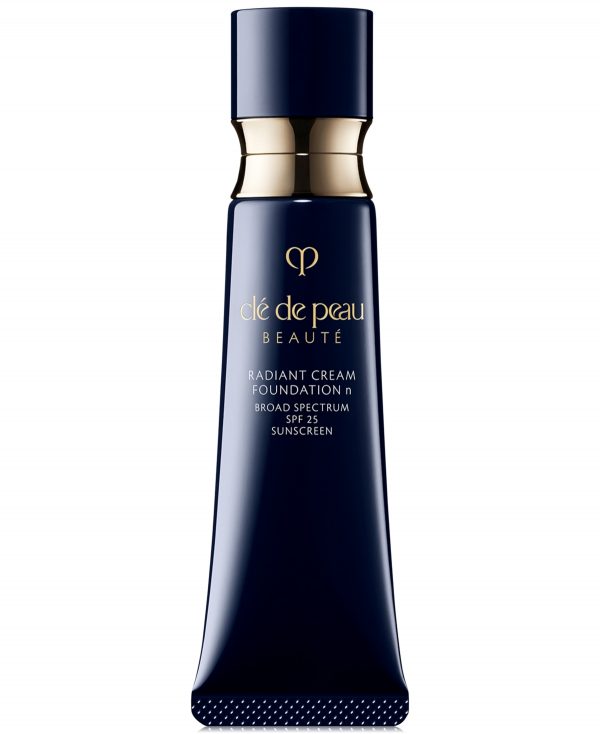
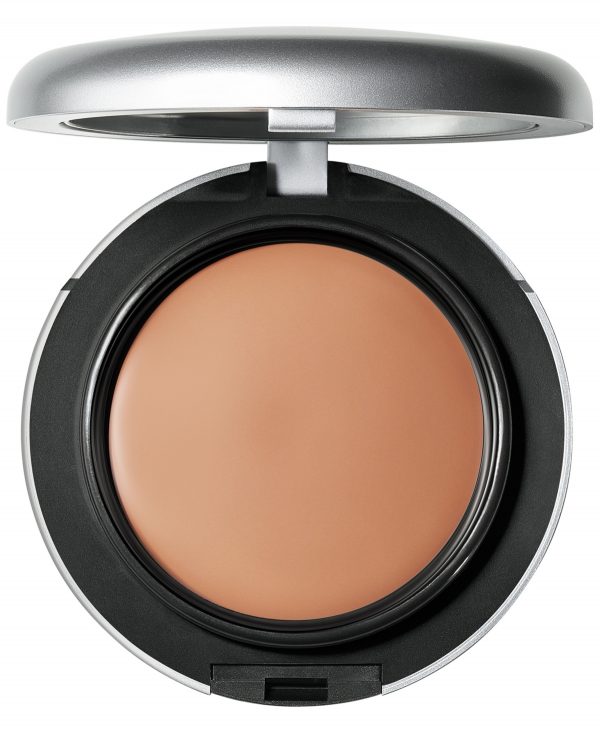
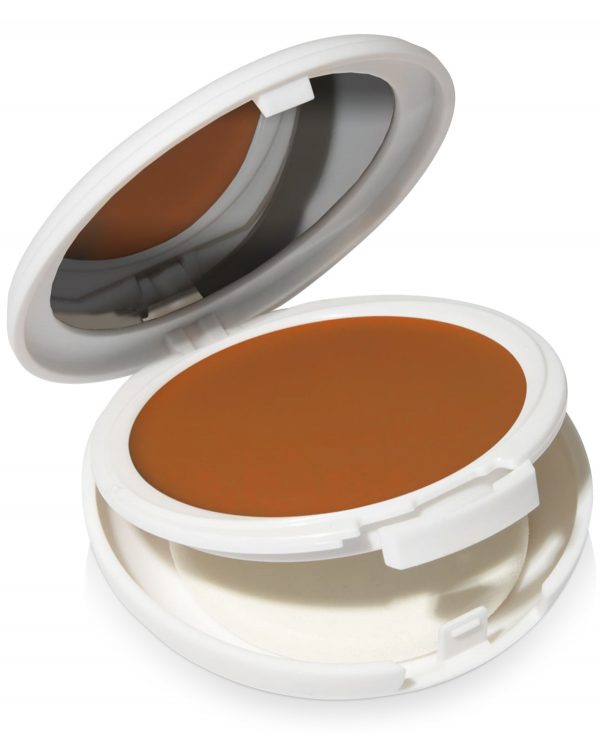
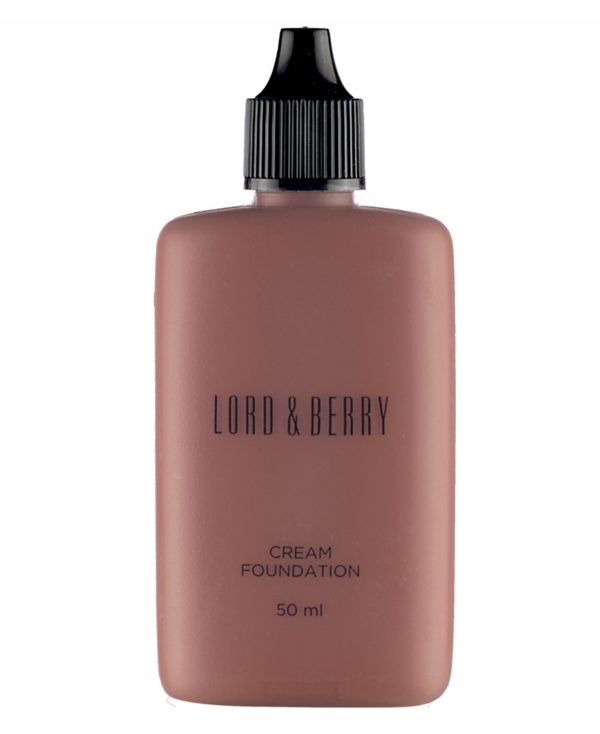
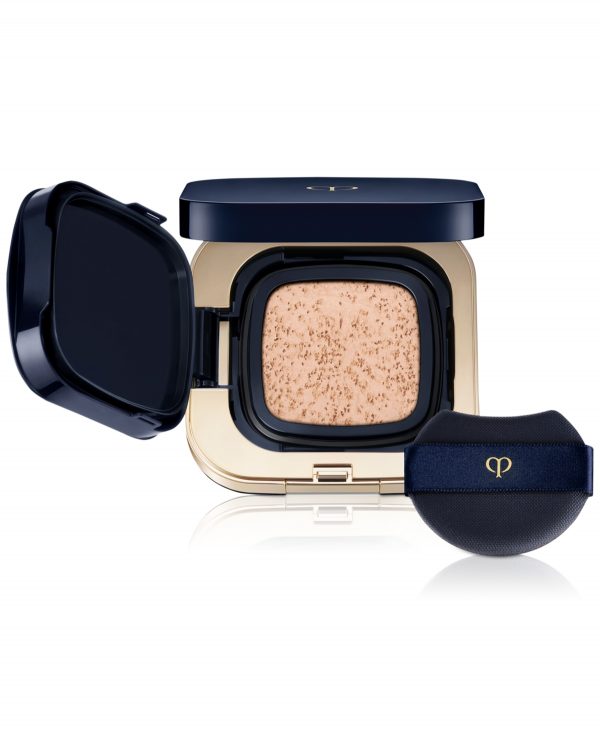
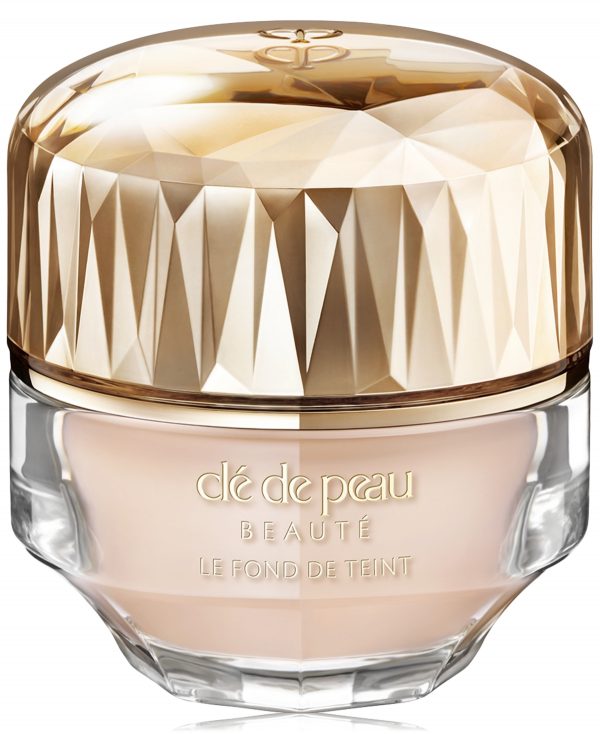
Cle de Peau Beaute Radiant Cream Foundation Spf 25, 0.88 oz. – O
Foundation Face Makeup

Foundation Face Makeup
Estee Lauder Futurist Skin Tint Serum Foundation Spf 20 – C Cool Bone
Foundation Face Makeup
Foundation Face Makeup
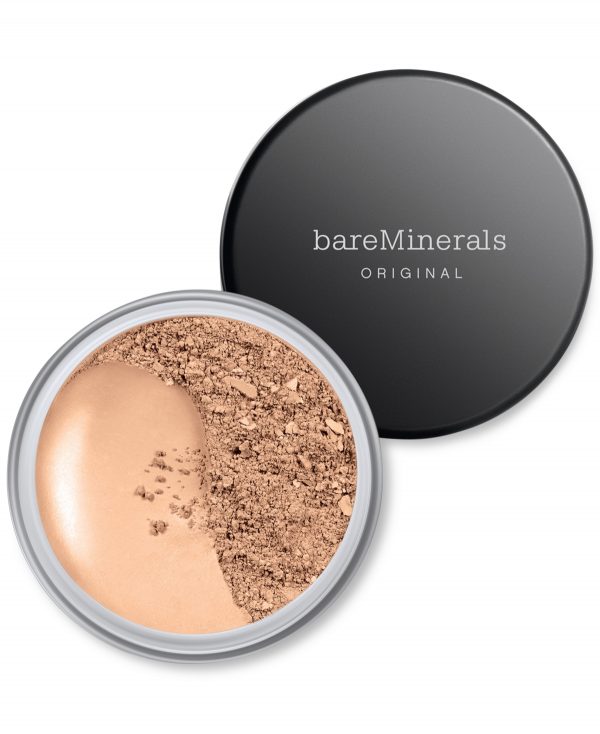
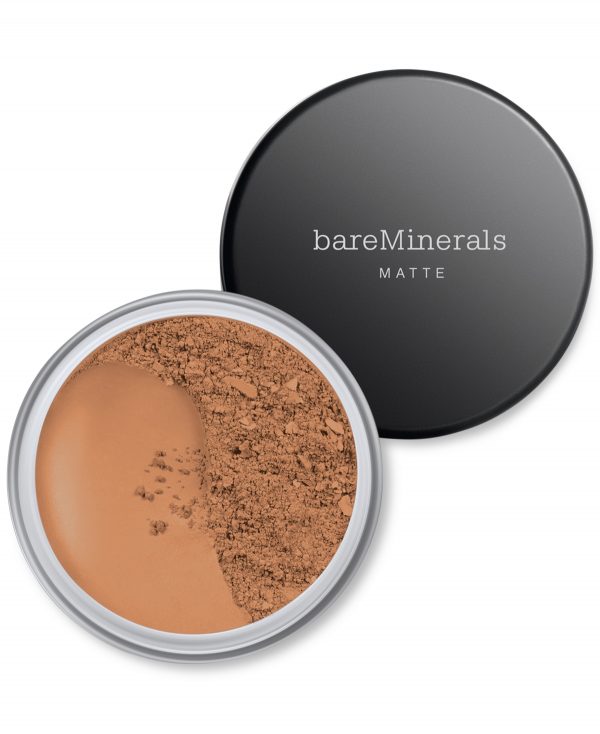
bareMinerals Original Loose Powder Foundation Spf 15 – Medium Beige – for light to medium skin
Foundation Face Makeup
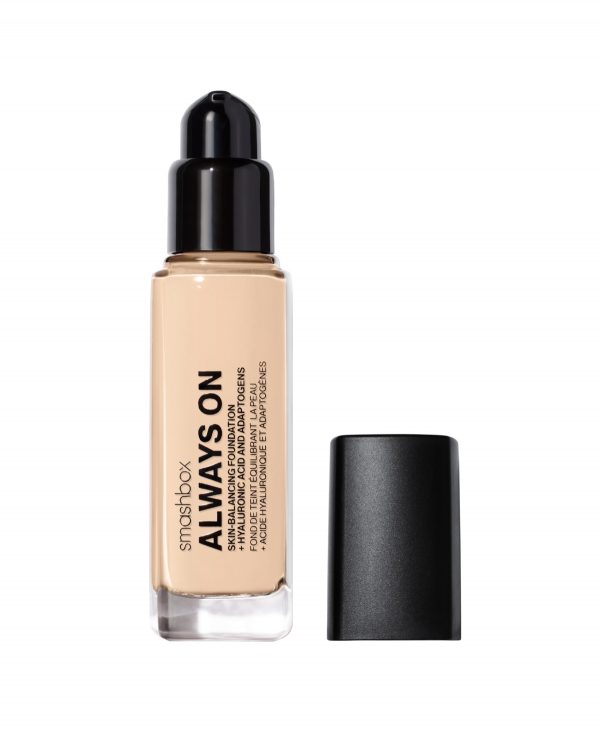
Smashbox Always On Skin-Balancing Foundation, 1 oz. – FN (level-three fair with a neutral unde
Foundation Face Makeup
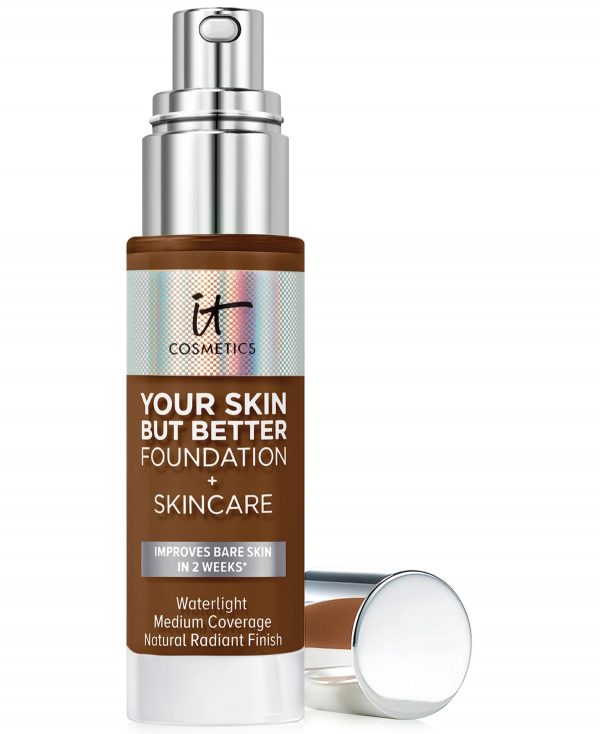
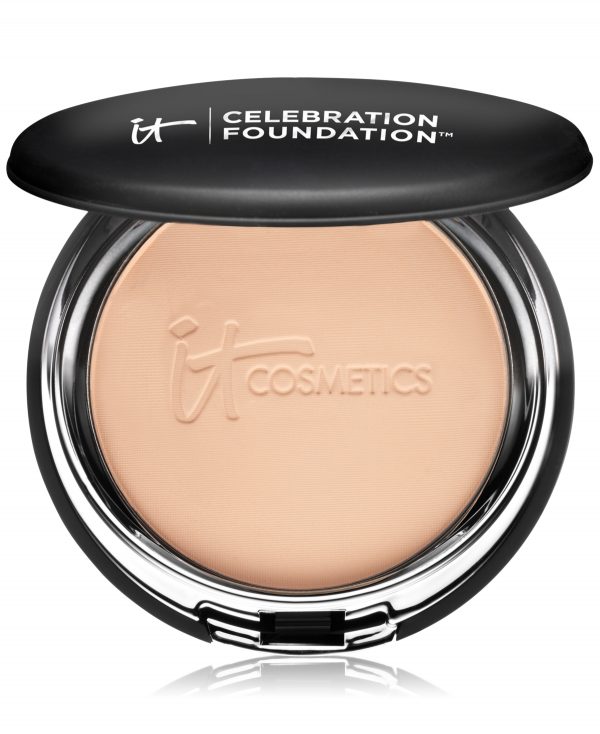
It Cosmetics Your Skin But Better Foundation + Skincare, 1 oz. – Deep Warm

Foundation Face Makeup
Foundation Face Makeup
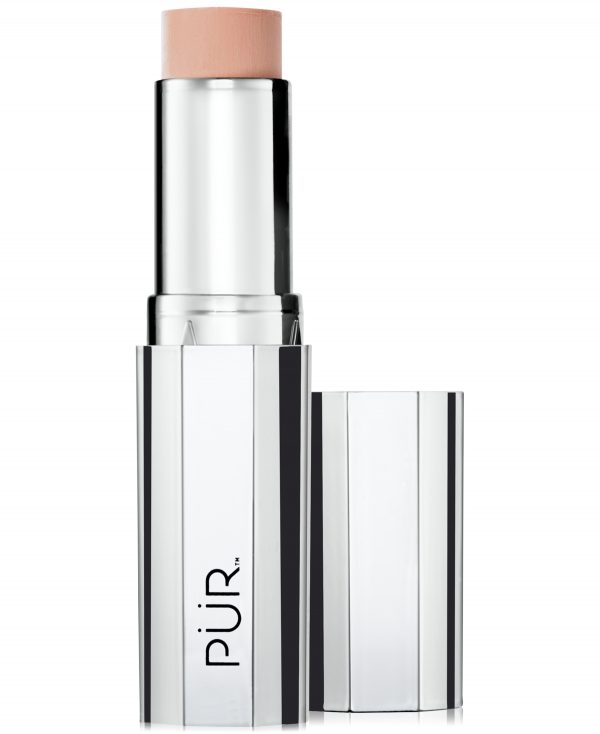
PUR 4-In-1 Foundation Stick – Blush Medium – medium w/ pink undertones

Foundation Face Makeup
bareMinerals Eco-Beautiful Deluxe Original Loose Mineral Foundation Spf 15 – Warm Deep
Foundation Face Makeup
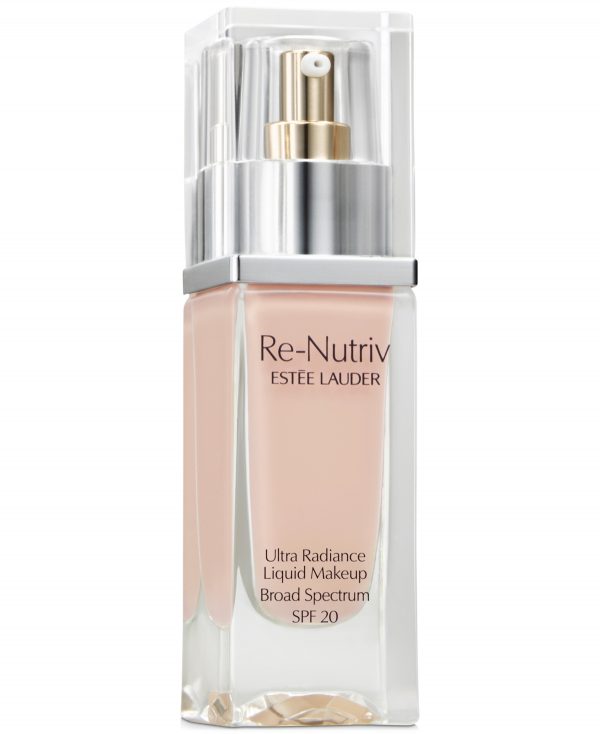
Estee Lauder Re-Nutriv Ultra Radiance Liquid Foundation Spf 20 – C Cool Bone
Foundation Face Makeup
Foundation Face Makeup
Foundation Face Makeup
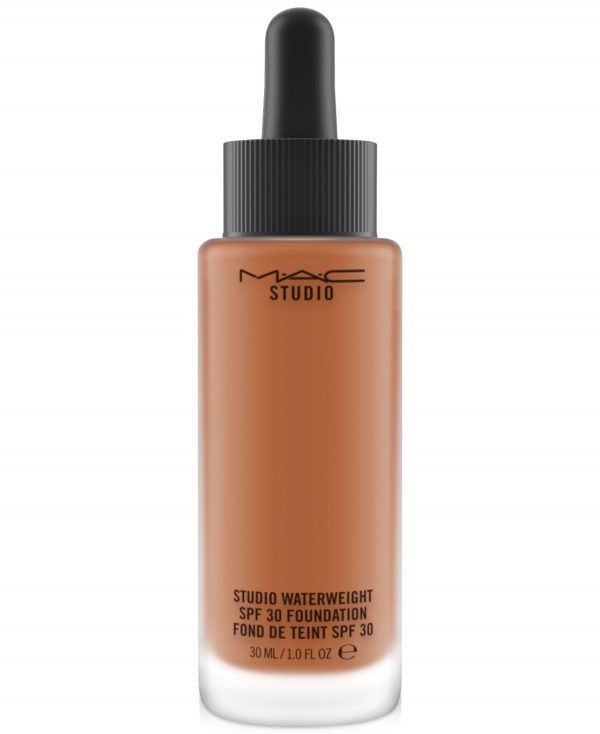
Mac Studio Waterweight Spf 30 Foundation, 1-oz. – NW (rich coffee/neutral undertone)
Foundation Face Makeup

Foundation Face Makeup
Foundation Face Makeup
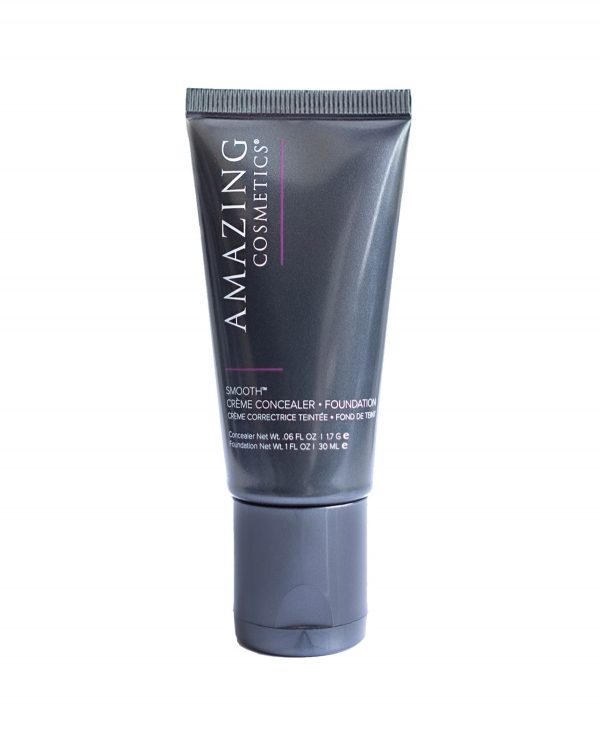
Amazingcosmetics Smooth Creme Concealer & Foundation Duo – Tan Golden
Foundation Face Makeup
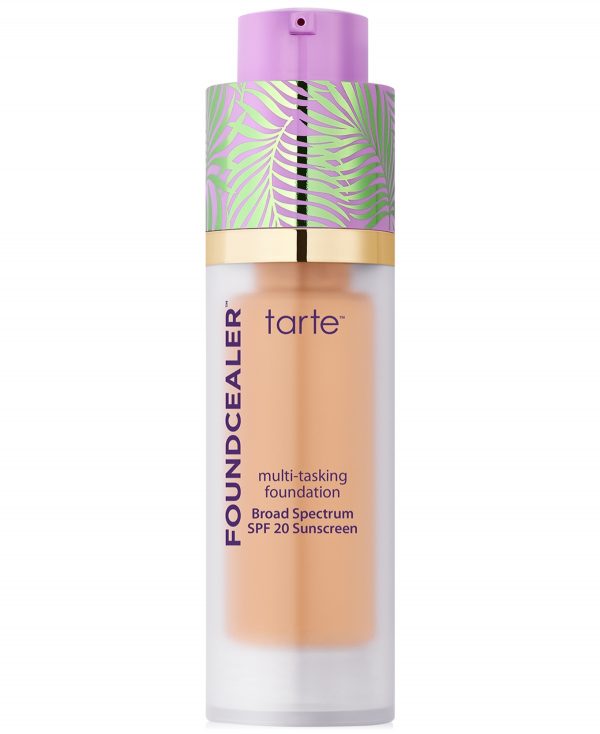
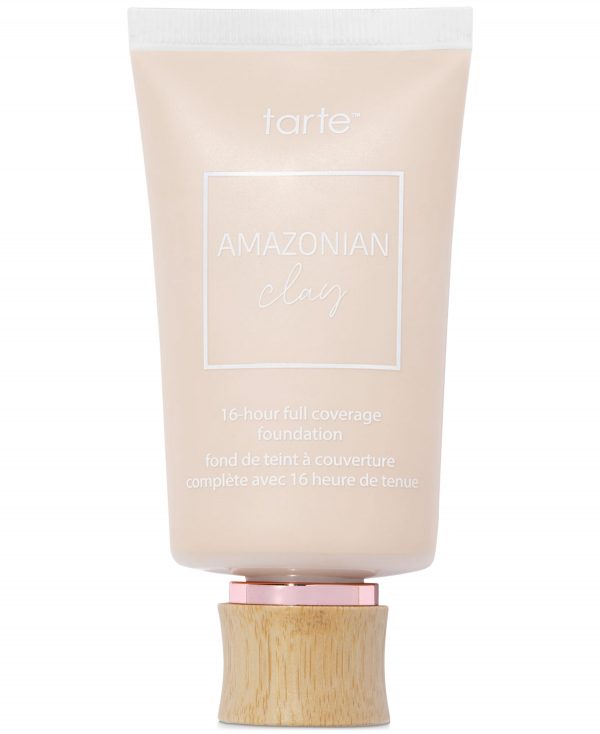
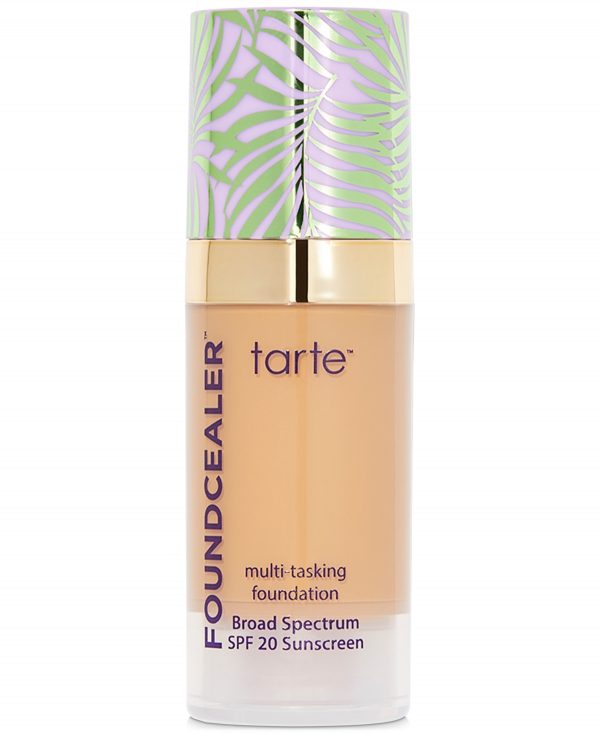
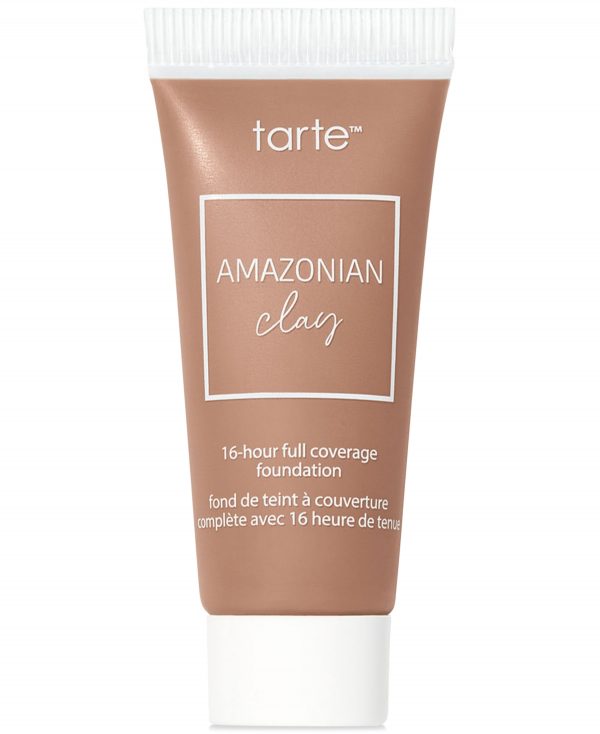
tarte Amazonian Clay 16-Hour Full Coverage Foundation – S Fair Sand – fair skin with warm, golde
Foundation Face Makeup
Foundation Face Makeup
Foundation Face Makeup
Foundation Face Makeup
Foundation Face Makeup
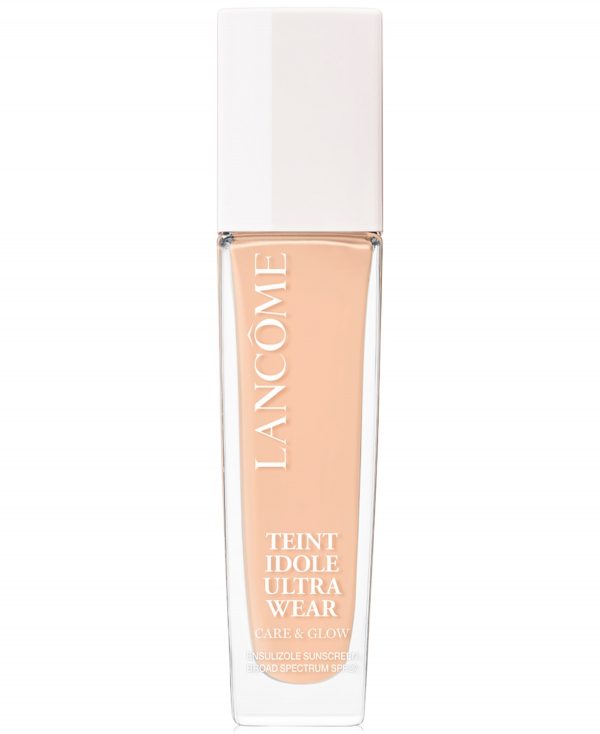
Lancome Teint Idole Ultra Wear Care & Glow Serum Foundation – N Fair with neutral peach undertones
Foundation Face Makeup
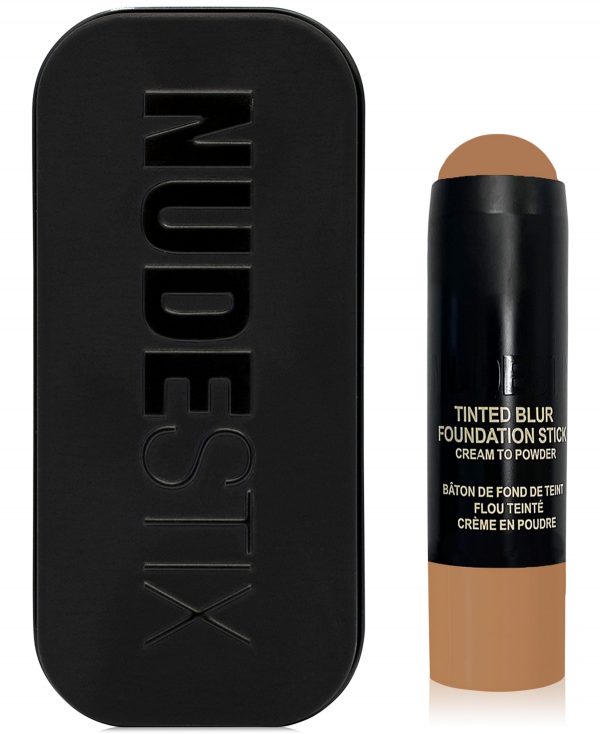
Nudestix Tinted Blur Foundation Stick – (medium beige with cool undertone)
Foundation Face Makeup
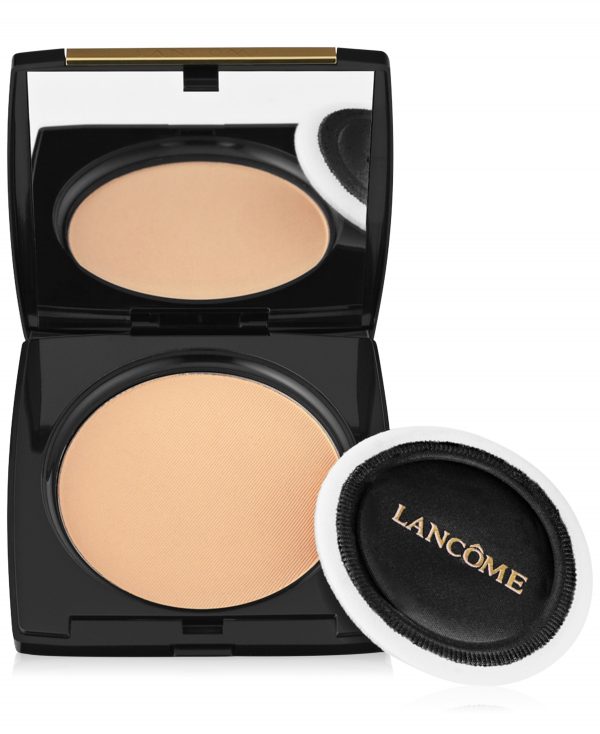
Lancome Dual Finish Multi-Tasking Powder Foundation Oil-free Face Powder – ECRU II (W)

Foundation Face Makeup
It Cosmetics Cc+ Airbrush Perfecting Powder Foundation – Deep
Foundation Face Makeup
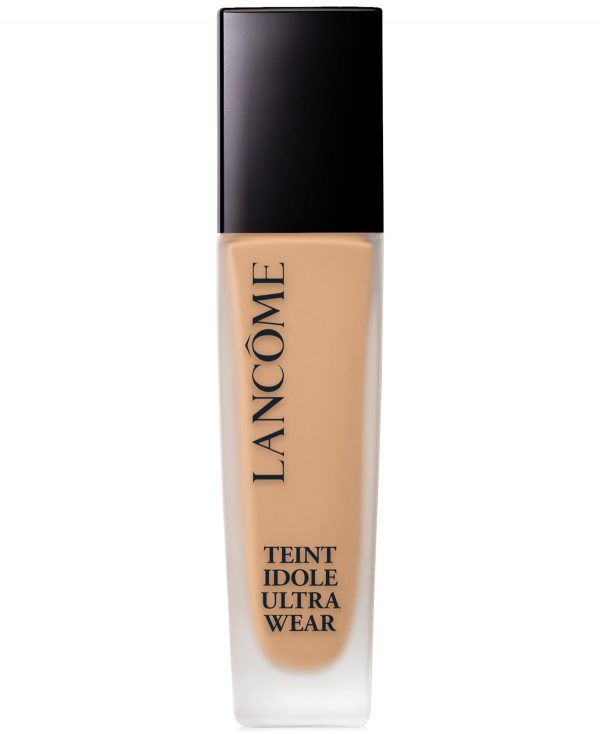
Lancome Teint Idole Ultra Wear Foundation – W – light to medium olive skin with warm
Foundation Face Makeup

Foundation Face Makeup
Foundation Face Makeup
Foundation Face Makeup
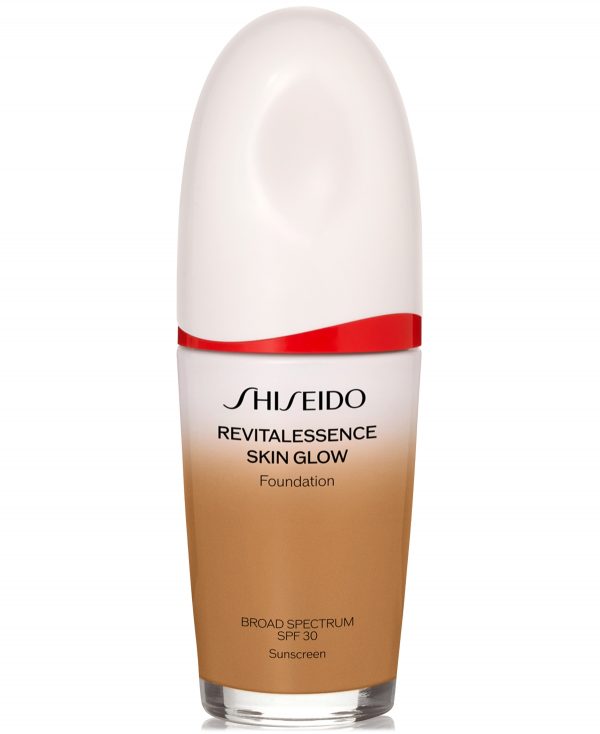
Shiseido RevitalEssence Skin Glow Foundation Spf 30 – Citrine
Foundation Face Makeup
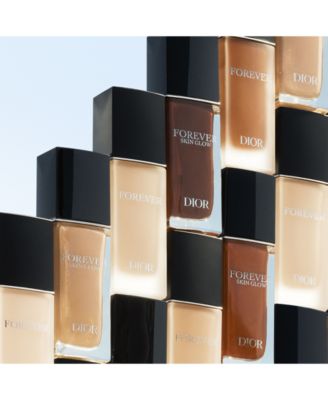
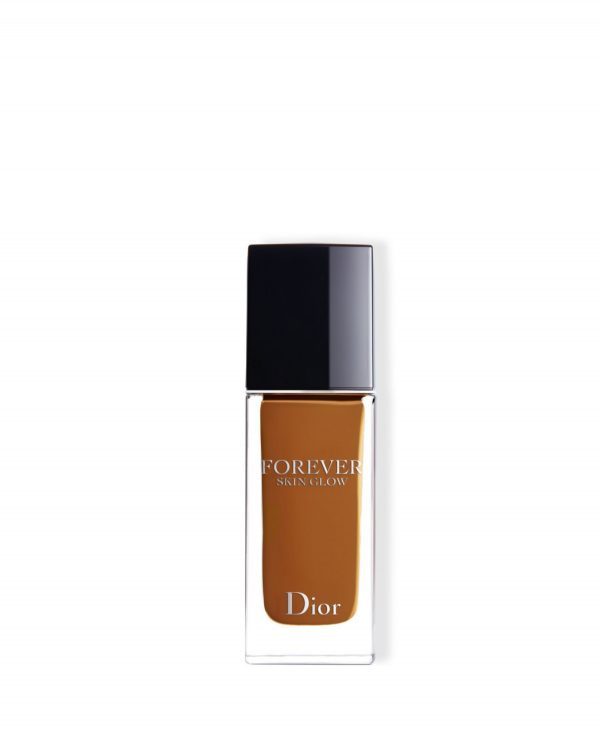
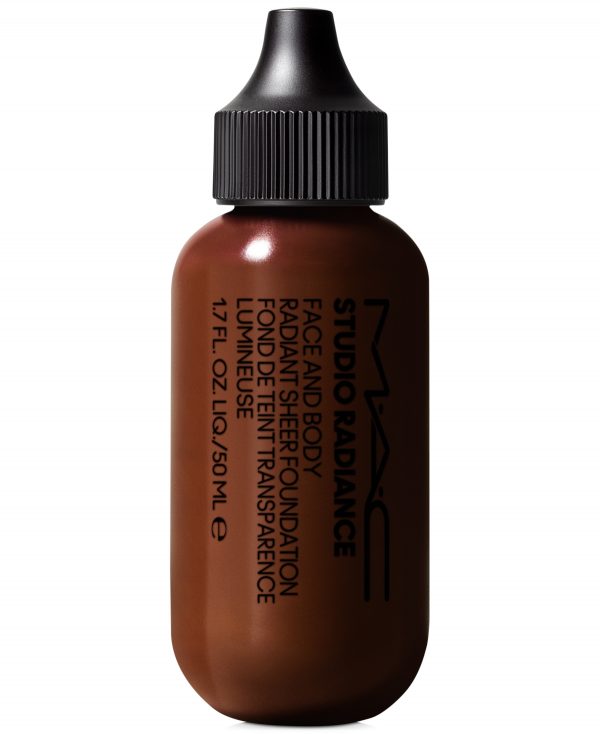
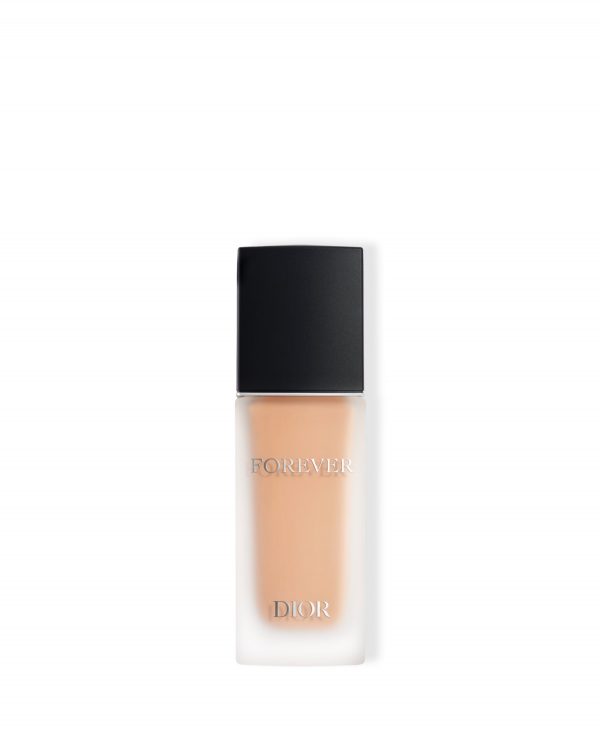
Dior Forever Skin Glow Hydrating Foundation Spf 15 – . Warm (Medium to deep skin with warm un
Foundation Face Makeup
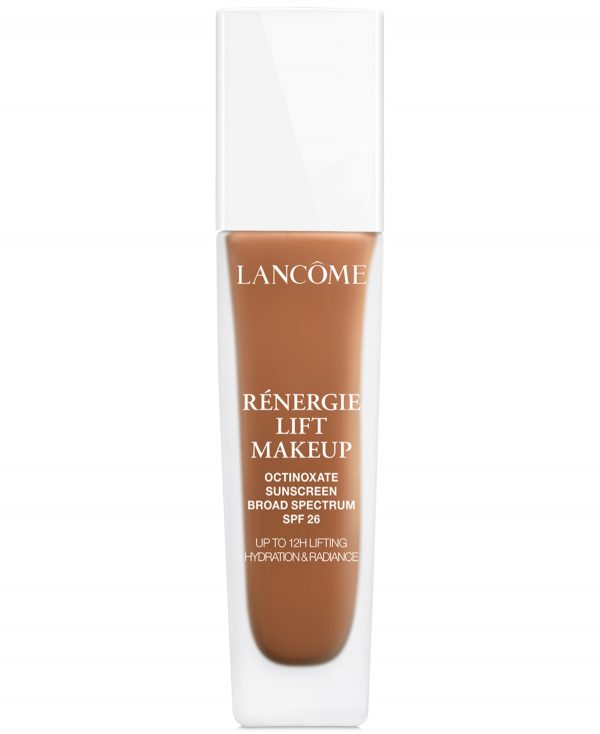
Lancome Renergie Lift Anti-Wrinkle Lifting Foundation with Spf 27, 1 oz. – SUEDE W
Foundation Face Makeup

Foundation Face Makeup
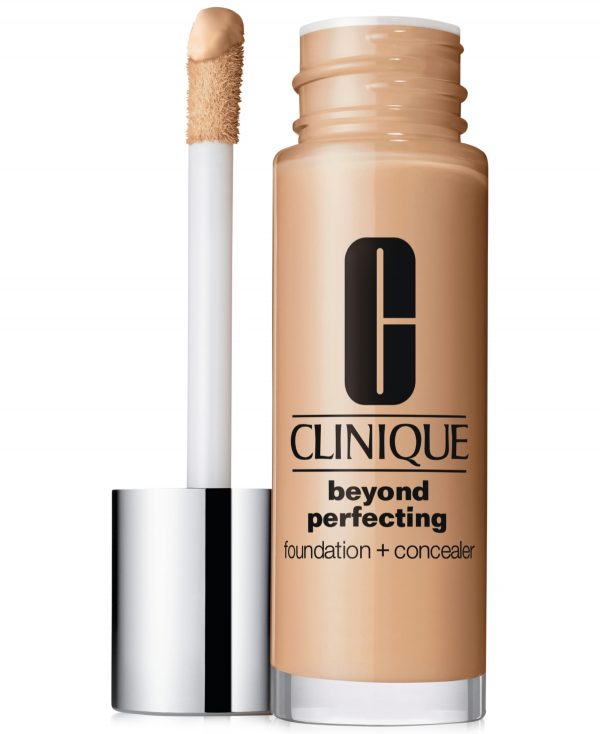
Clinique Beyond Perfecting Powder Foundation + Concealer, 0.51 oz. – Sand
Foundation Face Makeup
Foundation Face Makeup
Foundation Face Makeup
Foundation Face Makeup
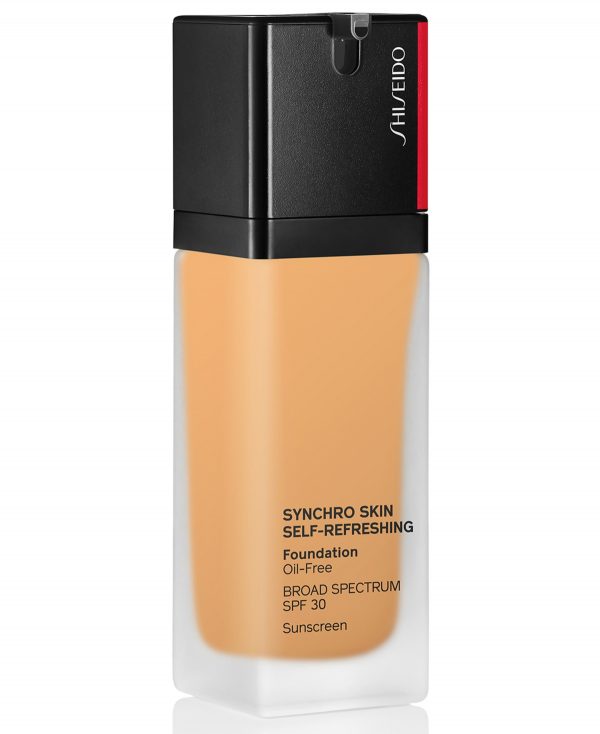
Shiseido Synchro Skin Self-Refreshing Foundation, 1.0 oz – Citrine
Foundation Face Makeup
Foundation Face Makeup
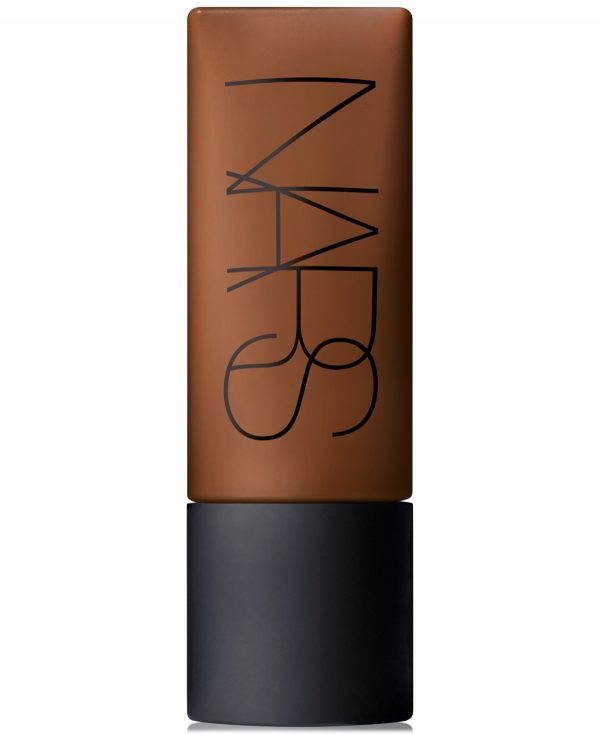
Nars Light Reflecting Foundation – Caracas (MD. – Medium-deep to deep with
Foundation Face Makeup
Foundation Face Makeup
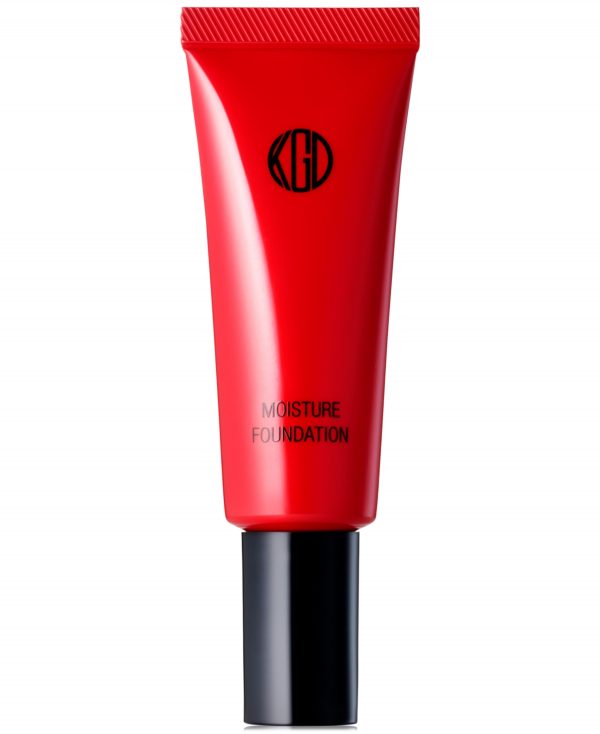
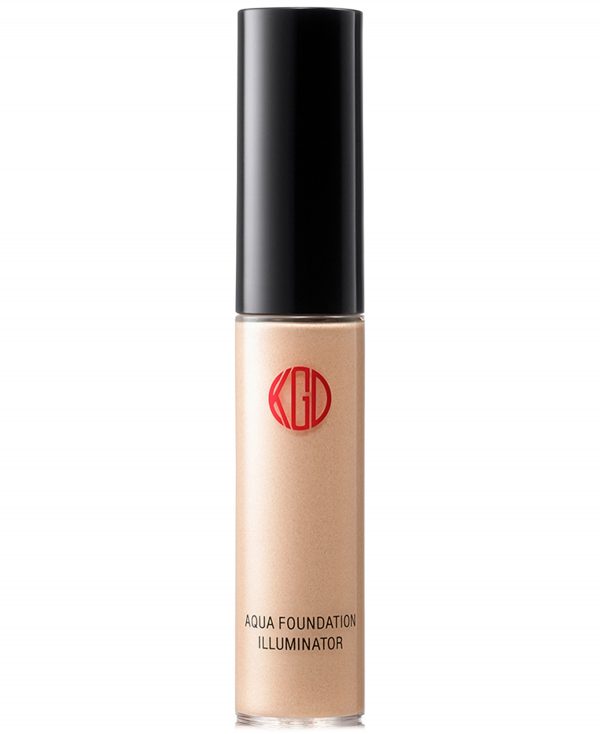
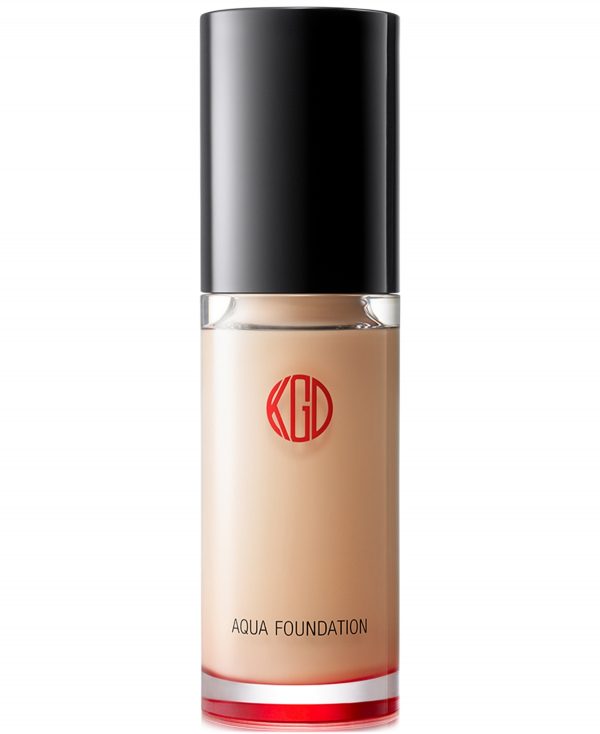
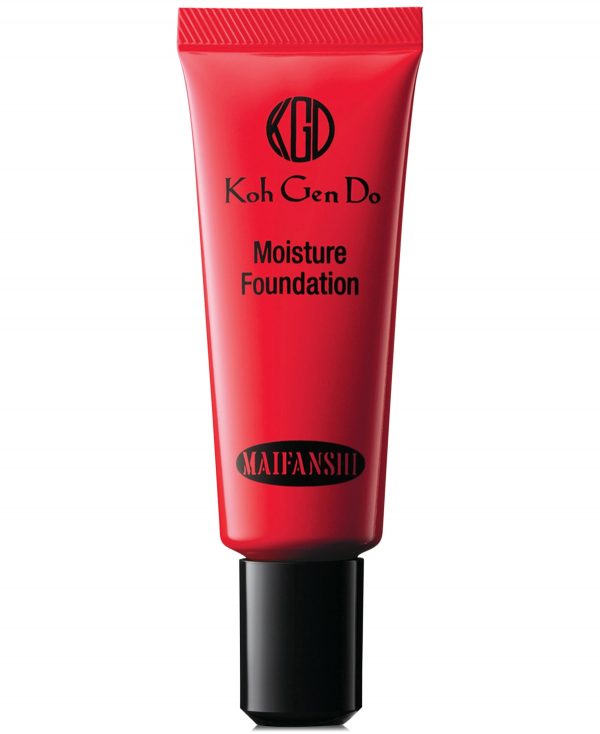
Koh Gen Do Aqua Foundation Illuminator, 0.20 oz. – Sheer Beige
Foundation Face Makeup
Foundation Face Makeup
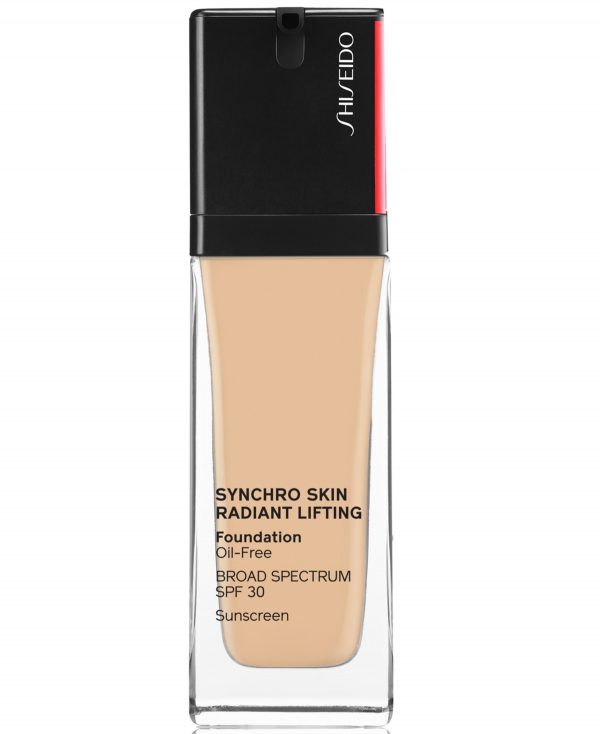
Shiseido Synchro Skin Radiant Lifting Foundation, 30 ml – Birch – Golden tone for light skin, Gold
Foundation Face Makeup
Foundation Face Makeup
Foundation Face Makeup
Mac Studio Fix Tech Cream-To-Powder Foundation – NW (warm neutral beige/rosy undertone)
Foundation Face Makeup
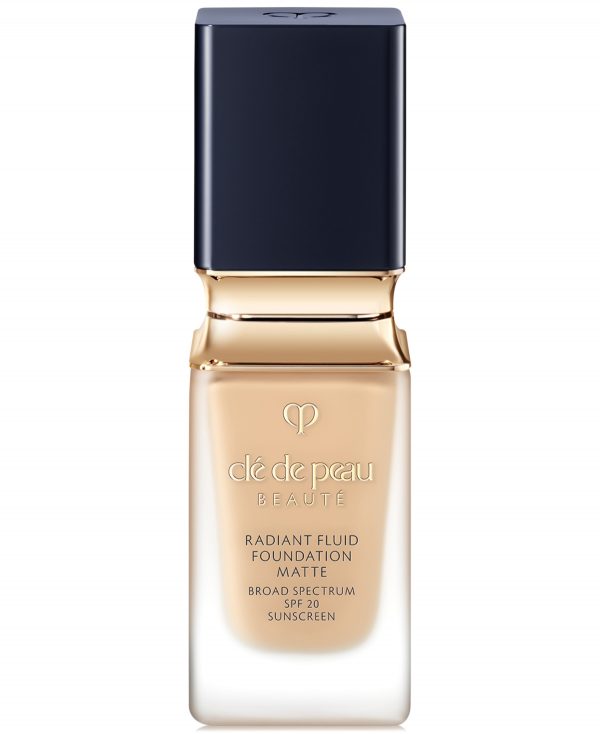
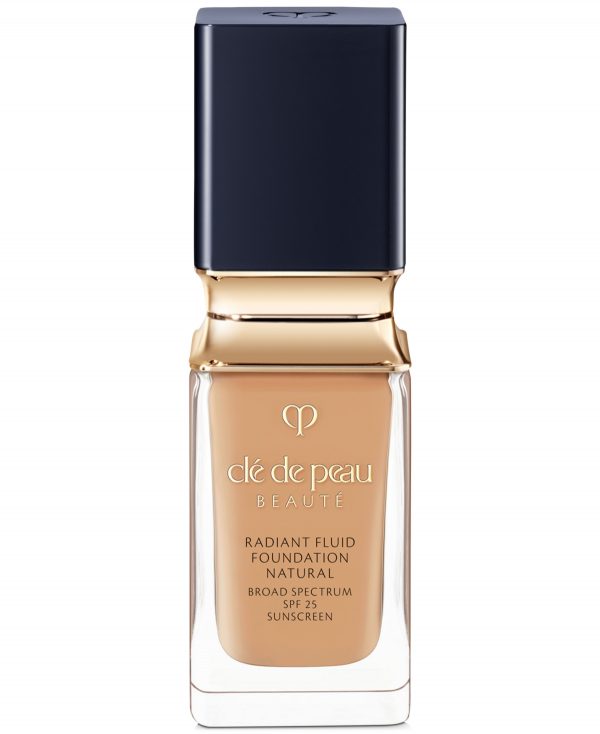
Cle de Peau Beaute Radiant Fluid Foundation Natural Spf 25 – BF TAN BUFF
Foundation Face Makeup

Foundation Face Makeup
Foundation Face Makeup
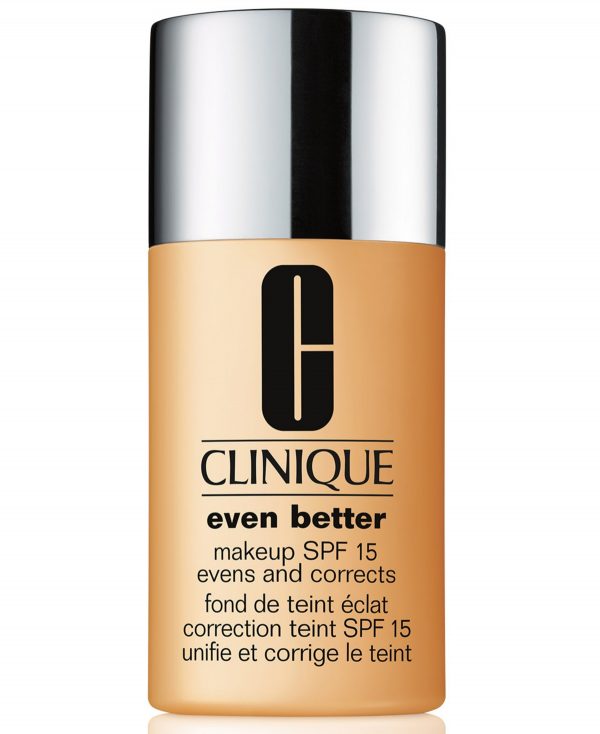
Clinique Even Better Makeup Broad Spectrum Spf 15 Foundation, 1 fl. oz. – CN Porcelain Beige
Foundation Face Makeup
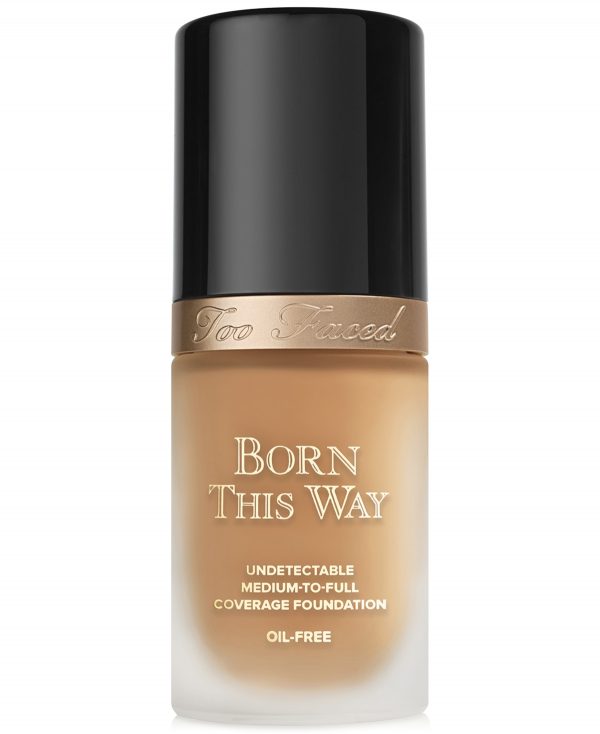
Too Faced Born This Way Flawless Coverage Foundation – Praline – Medium Tan w/ Golden Undertone
Foundation Face Makeup
tarte Travel Size Amazonian Clay 16-Hour Full Coverage Foundation – N Deep Neutral

Foundation Face Makeup
Make Up For Ever Ultra Hd Invisible Cover Stick Foundation – Y – Golden Honey
Foundation Face Makeup
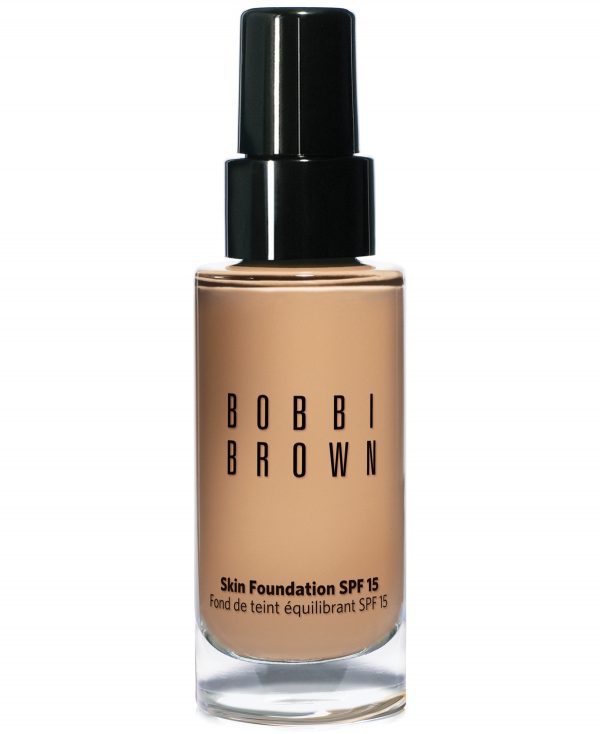
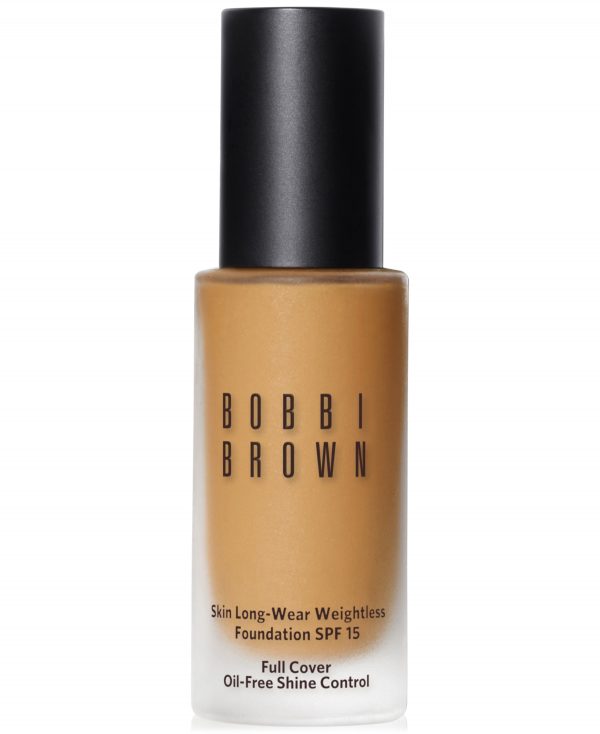
Bobbi Brown Skin Foundation Spf 15, 1 oz – . Natural (Olive Beige with Neutral Unde
Foundation Face Makeup
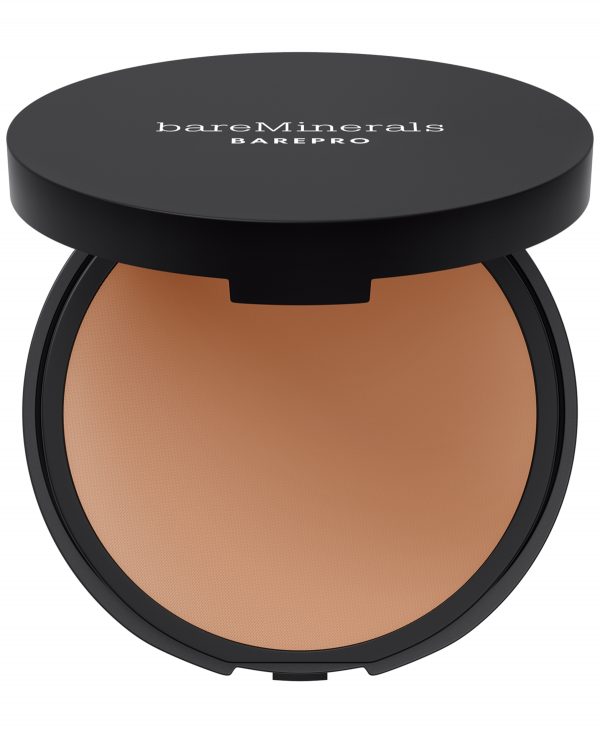
bareMinerals Barepro 16HR Skin-Perfecting Powder Foundation – Medium Deep Cool
Foundation Face Makeup
Foundation Face Makeup

Foundation Face Makeup
Foundation Face Makeup
Foundation Face Makeup
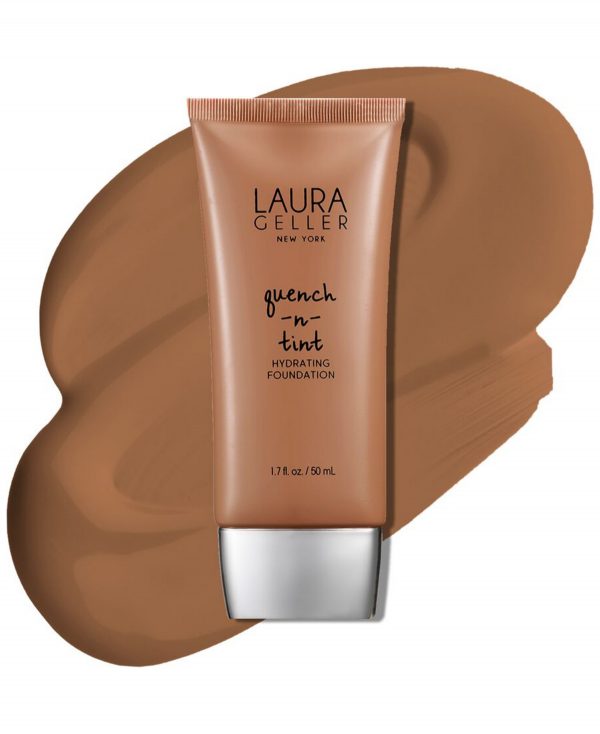
Laura Geller Beauty Quench-n-Tint Hydrating Foundation – Deep
Foundation Face Makeup
Foundation Face Makeup
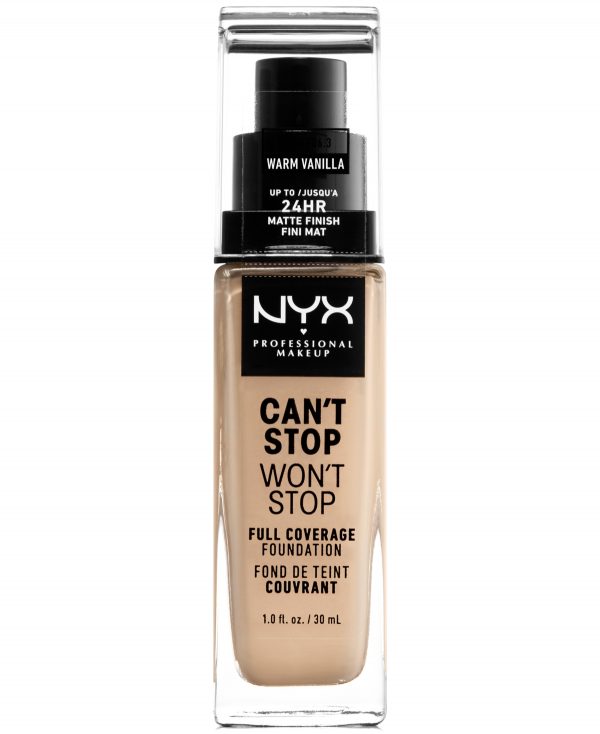
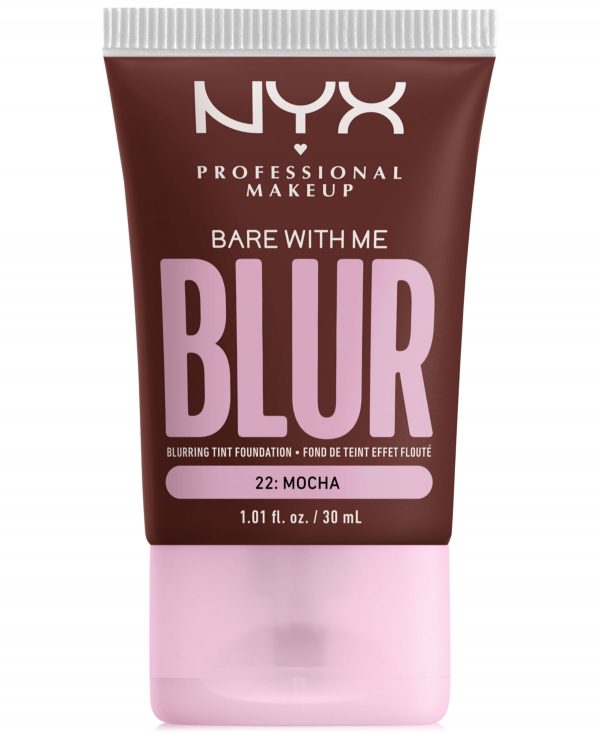
Nyx Professional Makeup Bare With Me Blur Tint Foundation – Mocha
Foundation Face Makeup
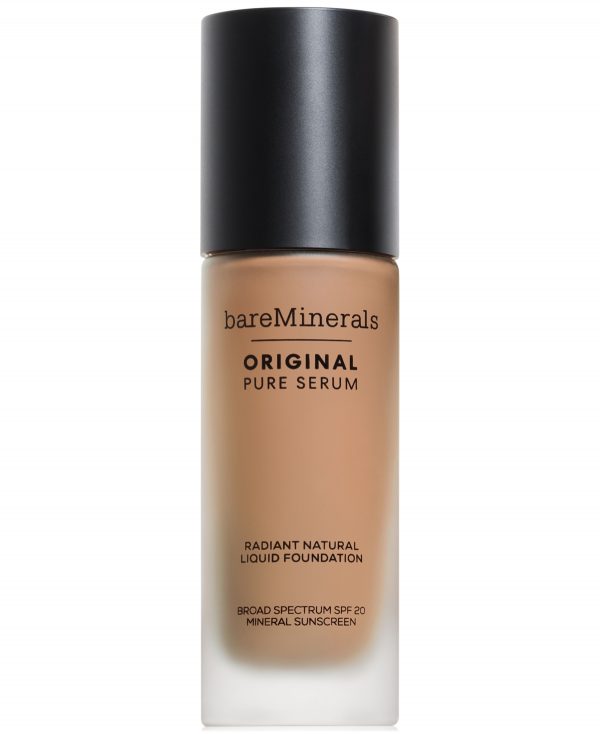
bareMinerals Original Pure Serum Radiant Natural Liquid Foundation Mineral Spf 20 – Medium Cool .
Foundation Face Makeup
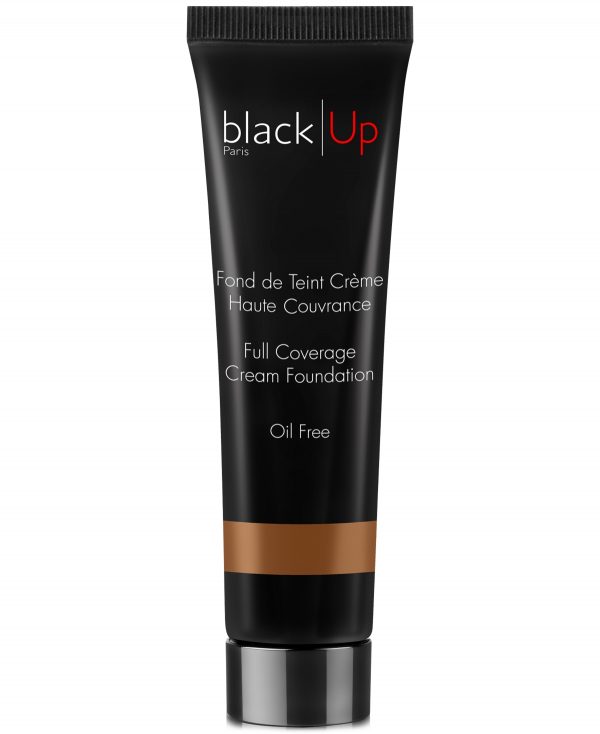
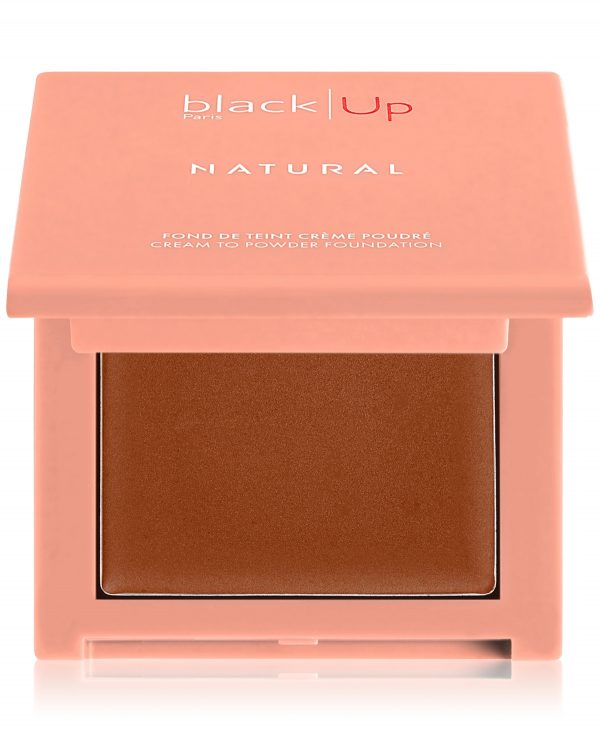
black Up Full Coverage Cream Foundation, 1-oz. – HC Pecan (dark/copper undertones)
Foundation Face Makeup
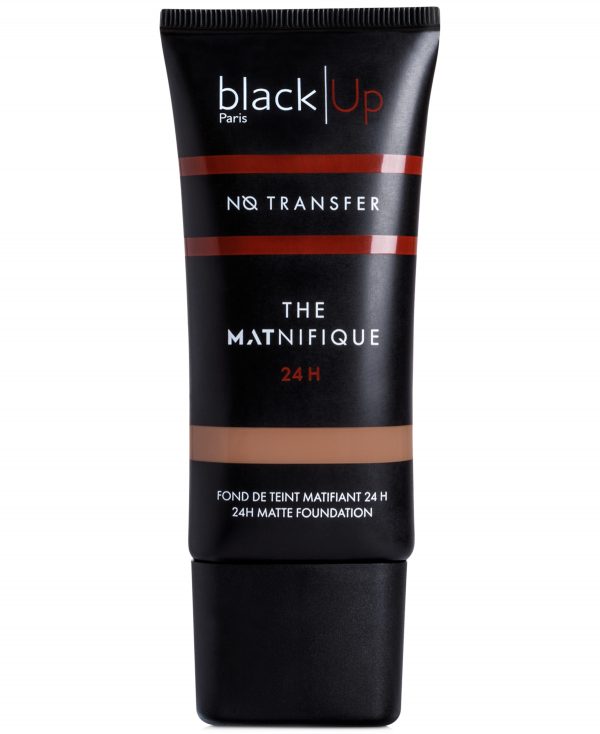
black Up The Matnifique 24H Matte Foundation – FNT Mocha (deep with golden undertones)
Foundation Face Makeup
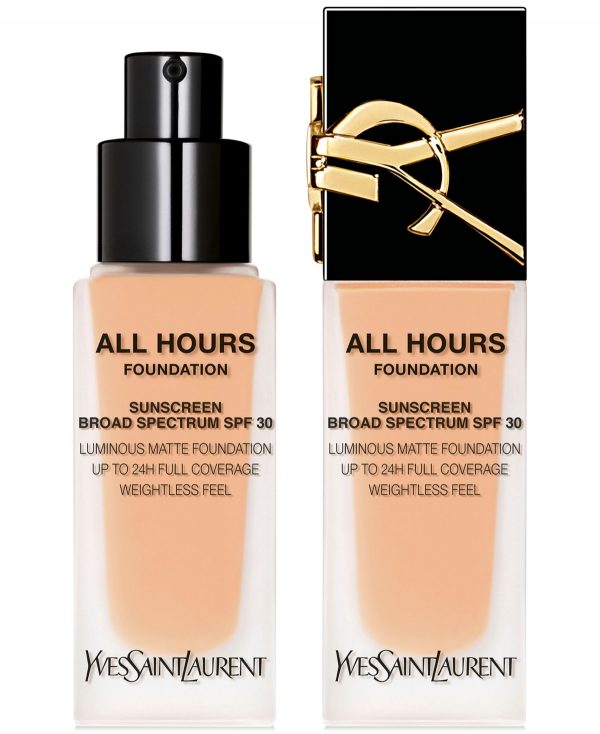
Yves Saint Laurent All Hours Luminous Matte Foundation Spf 30 – Lc
Foundation Face Makeup
Foundation Face Makeup
Lancome Teint Idole Ultra Wear Foundation Stick – SUEDE COOL (Deep with cool undertone)

Foundation Face Makeup
Foundation Face Makeup
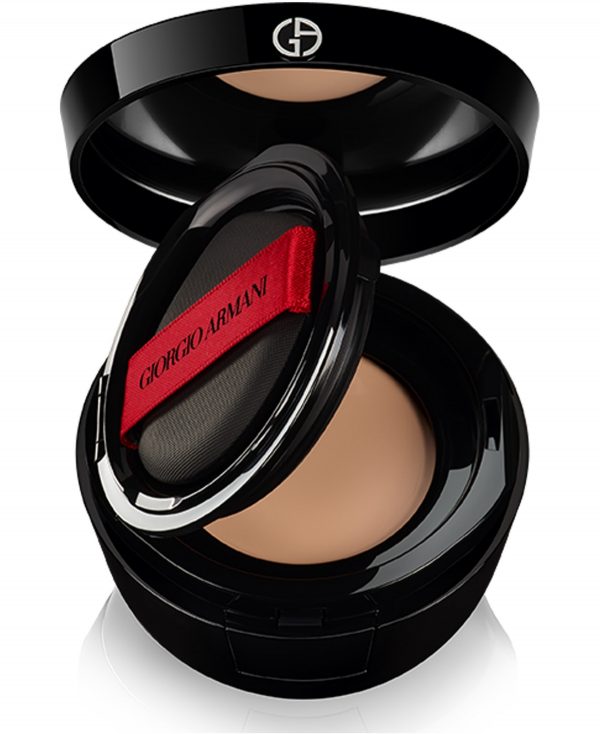
Armani Beauty Power Fabric Foundation Compact – . (Medium, Neutral Undertone)
Foundation Face Makeup
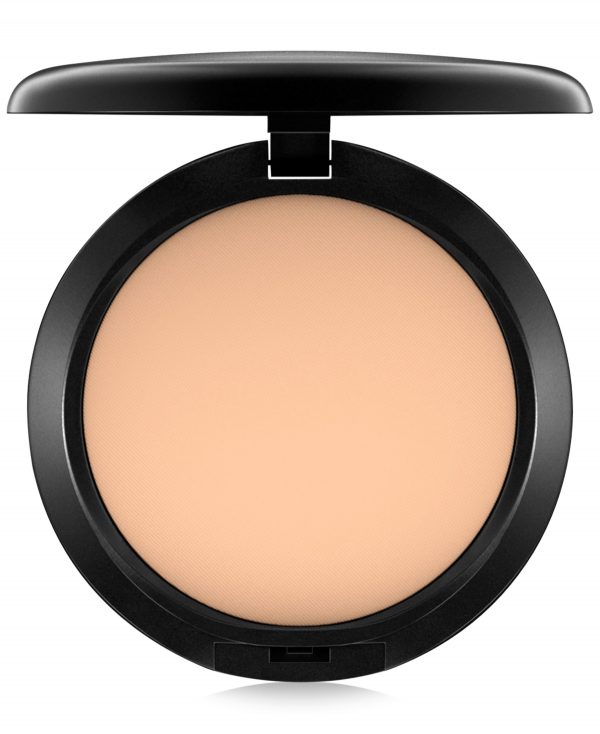
Mac Studio Fix Powder Plus Foundation – C. (tanned neutral beige)
Foundation Face Makeup
Foundation Face Makeup
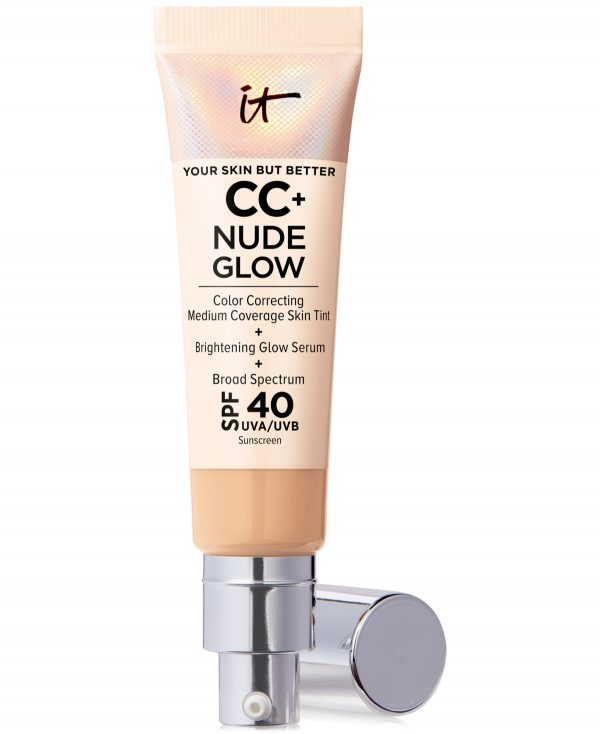
It Cosmetics Cc+ Nude Glow Lightweight Foundation + Glow Serum Spf 40 – Medium
Foundation Face Makeup
Foundation Face Makeup
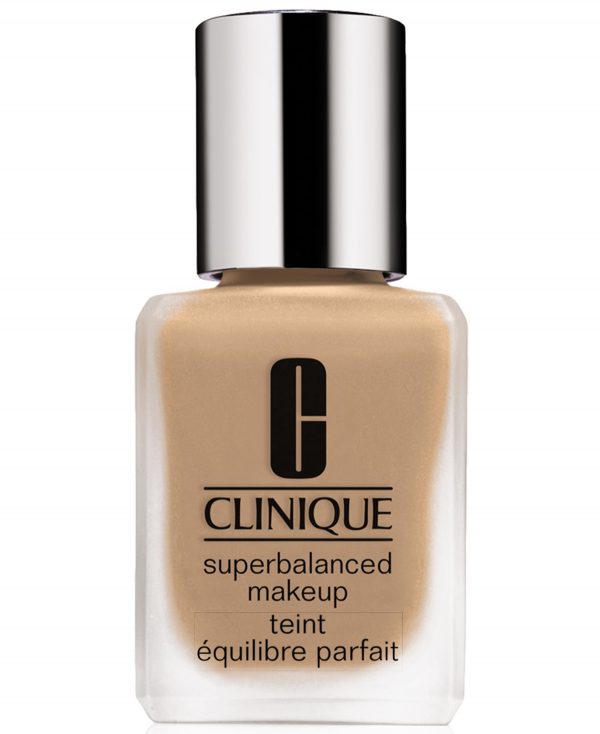
Clinique Superbalanced Makeup Foundation, 1 oz. – CN Nude Beige
Foundation Face Makeup
Laura Geller Beauty Baked Balance-n-Glow Illuminating Foundation – Deep
Foundation Face Makeup
Laura Geller Beauty Timeless Skin Cream Compact Foundation – Deep
Foundation Face Makeup
Foundation Face Makeup
Foundation Face Makeup
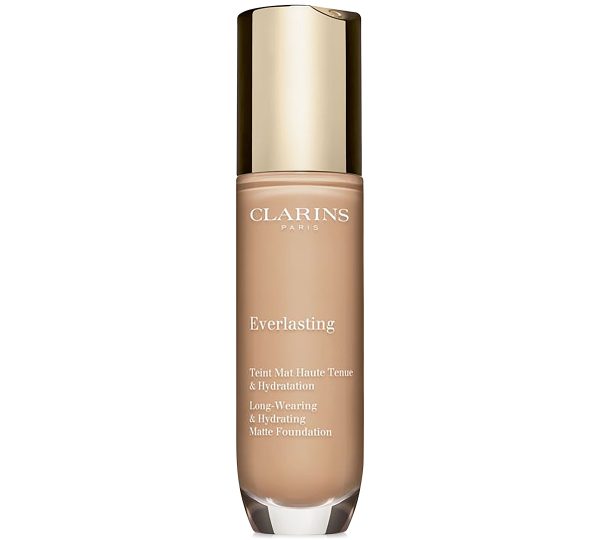
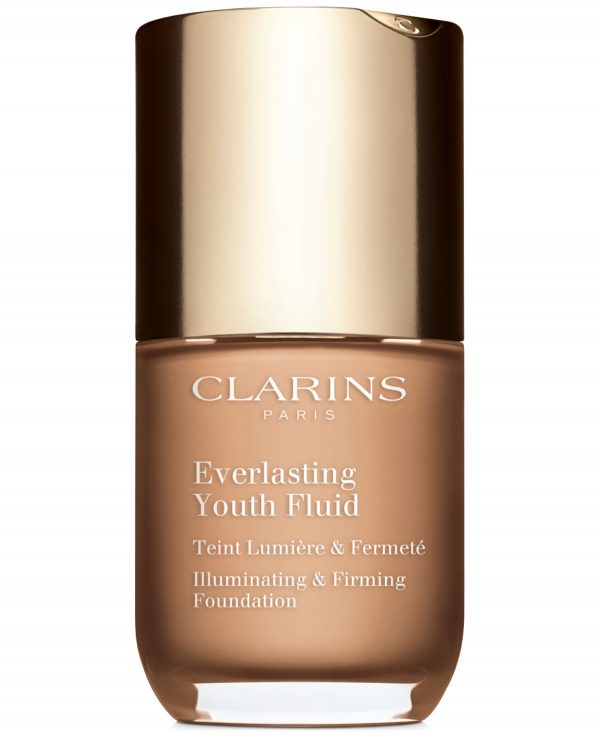
Clarins Everlasting Long-Wearing Full Coverage Foundation, 1 oz. – C Beige

Foundation Face Makeup
Foundation Face Makeup
Dior Forever Matte Skincare Foundation Spf 15 – Warm Peach (Medium skin with warm peach
Foundation Face Makeup
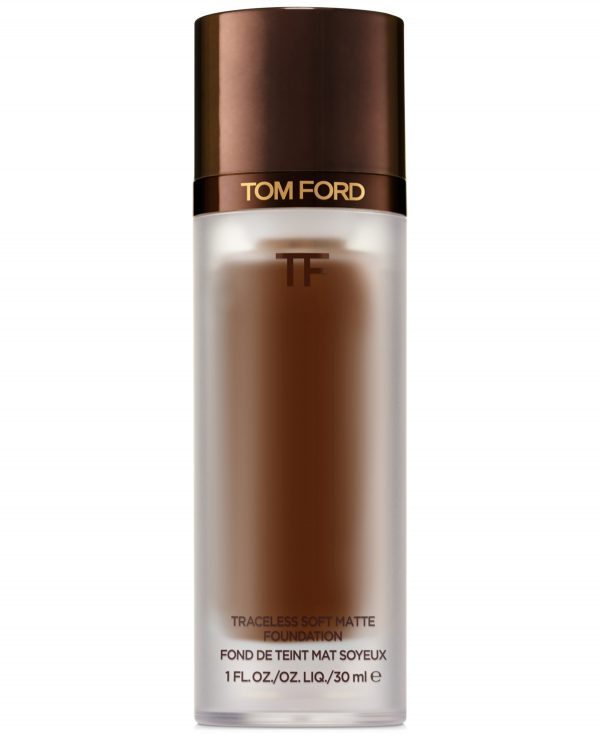
Tom Ford Traceless Soft Matte Foundation, 1-oz. – . Espresso-rich, Cool Undertone
Foundation Face Makeup
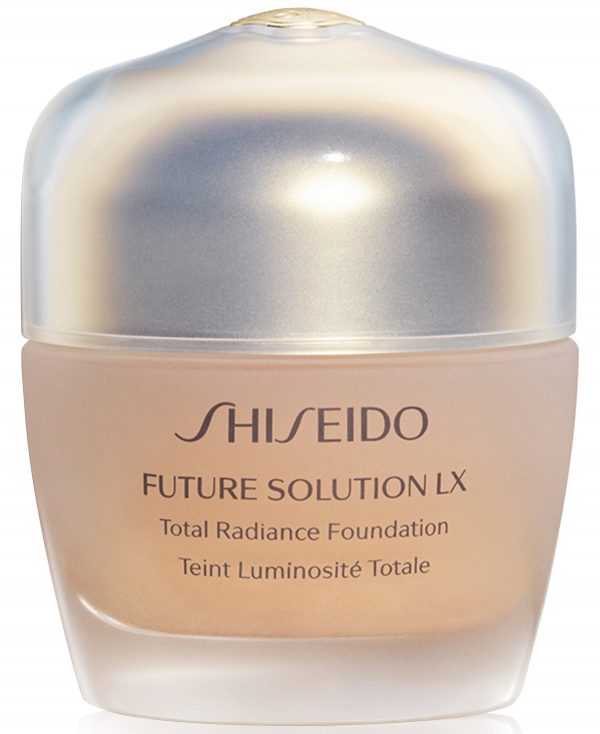
Shiseido Future Solution Lx Total Radiance Foundation Broad Spectrum Spf 20 Sunscreen, 1.2 oz – Rose
Foundation Face Makeup
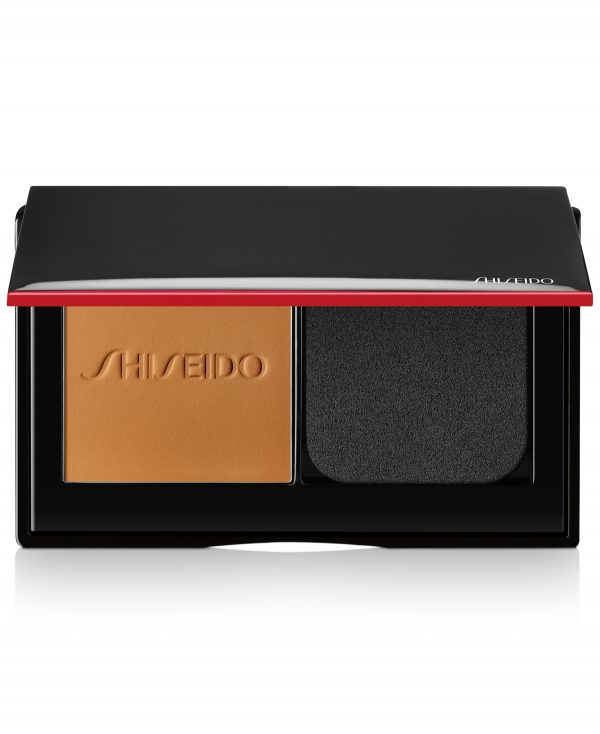
Shiseido Synchro Skin Self-Refreshing Custom Finish Powder Foundation, 0.31-oz.
Foundation Face Makeup
Foundation Face Makeup
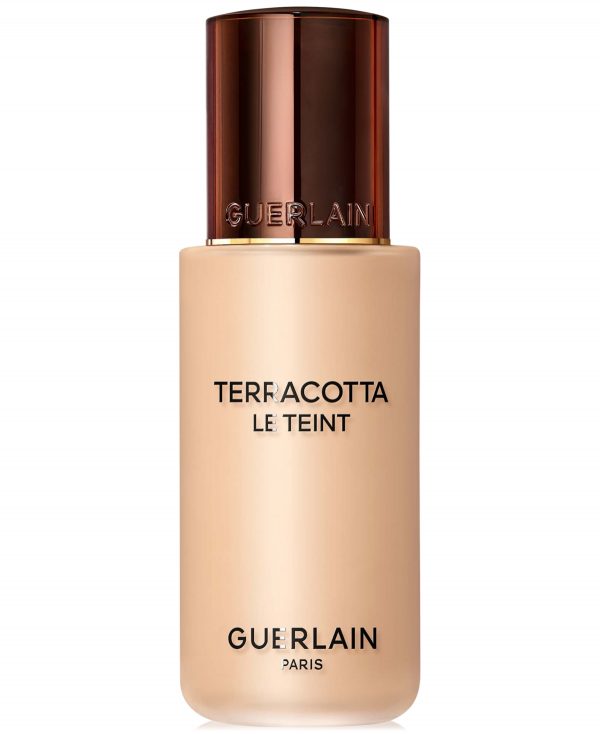
Guerlain Terracotta Le Teint Healthy Glow Foundation – W Light Skin With Golden Undertones
Foundation Face Makeup

Foundation Face Makeup
bareMinerals BarePro Performance Wear Liquid Foundation SPF20 – Sandstone – medium warm/yellow
Foundation Face Makeup
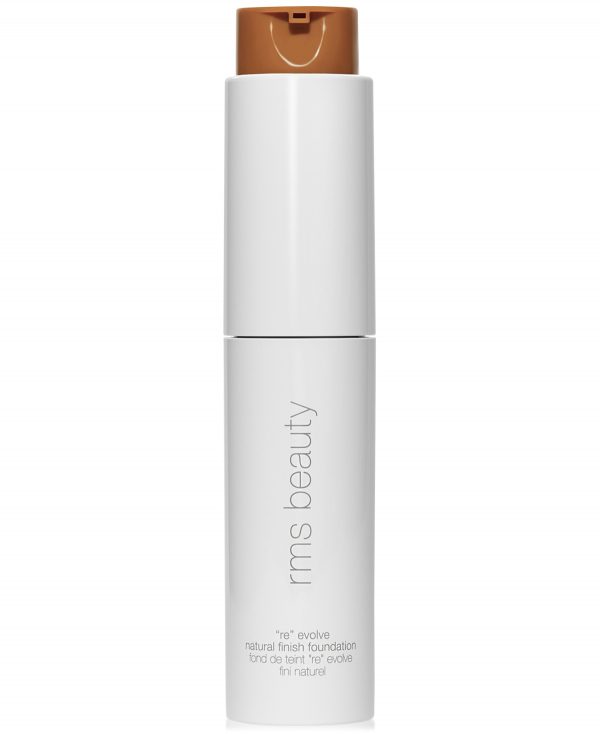
Rms Beauty ReEvolve Natural Finish Foundation – Rich Light Mahogany
Foundation Face Makeup
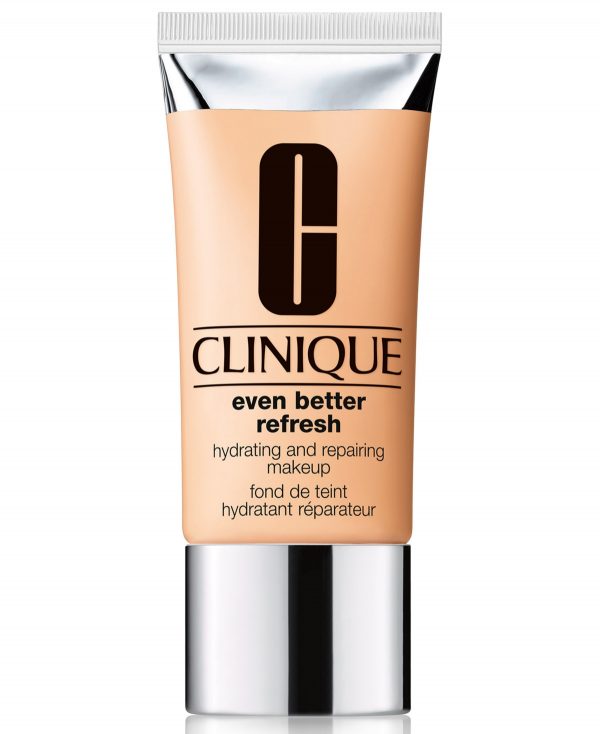
Clinique Even Better Refresh Hydrating and Repairing Makeup Foundation, 1 oz. – Wn Cardamom
Foundation Face Makeup
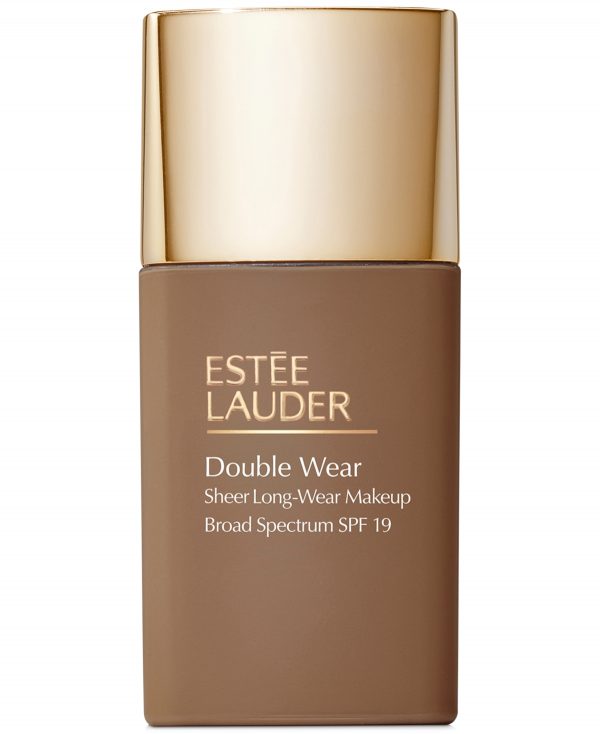
Estee Lauder Double Wear Stay-In-Place Matte Powder Foundation – W Rich Caramel
Foundation Face Makeup
Anastasia Beverly Hills Luminous Foundation, 1.01-oz. – W (deep/warm red undertone)
Foundation Face Makeup
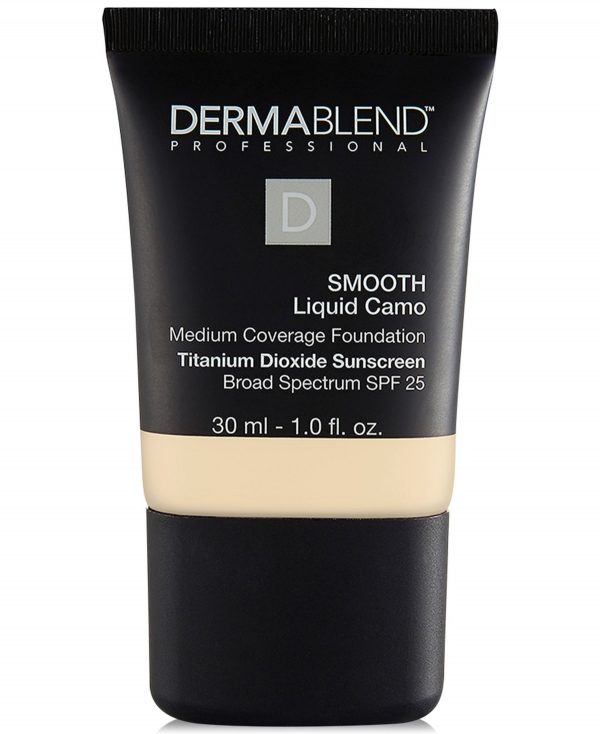
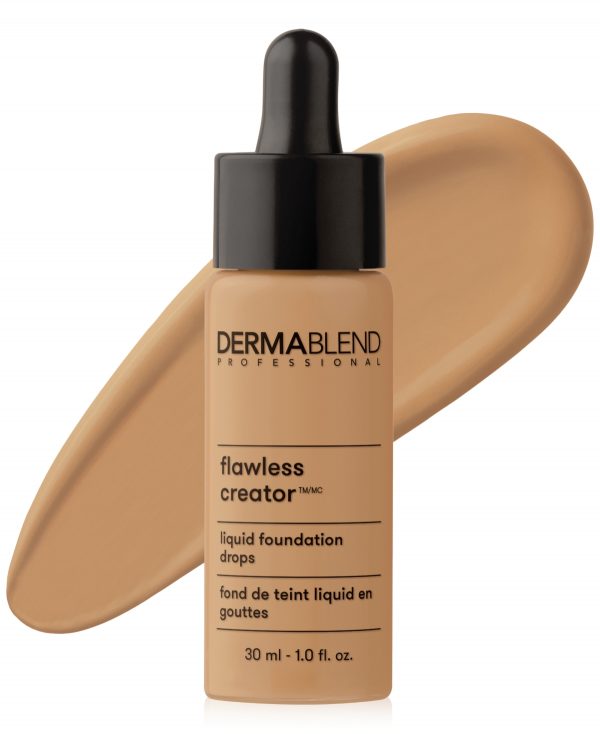
Dermablend Flawless Creator Multi-Use Liquid Foundation, 1 oz. – W
Foundation Face Makeup
bareMinerals Matte Loose Powder Foundation Spf 15 – Medium Dark – for dark skin with cool t
Foundation Face Makeup
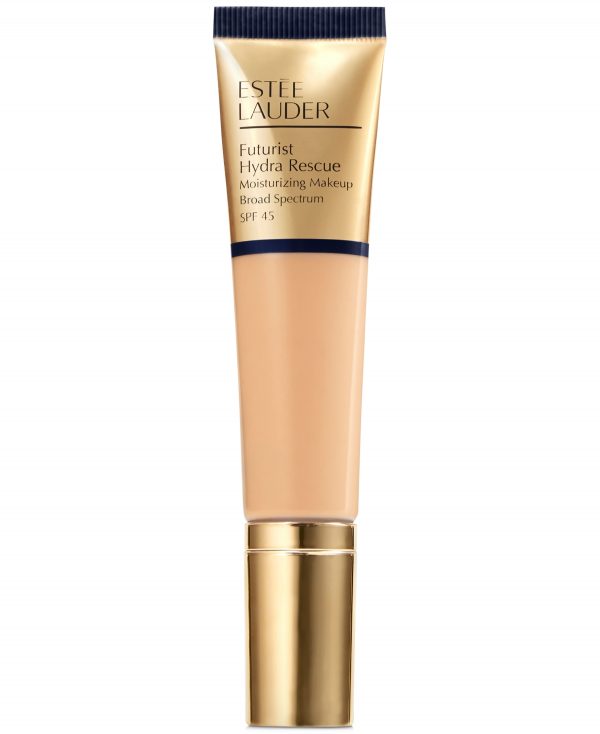
Estee Lauder Futurist Hydra Rescue Moisturizing Foundation Spf 45, 1.2 oz. – W Dawn
Foundation Face Makeup
Clinique Almost Powder Makeup Broad Spectrum Spf 18 Foundation, 0.35 oz. – Neutral Fair
Foundation Face Makeup
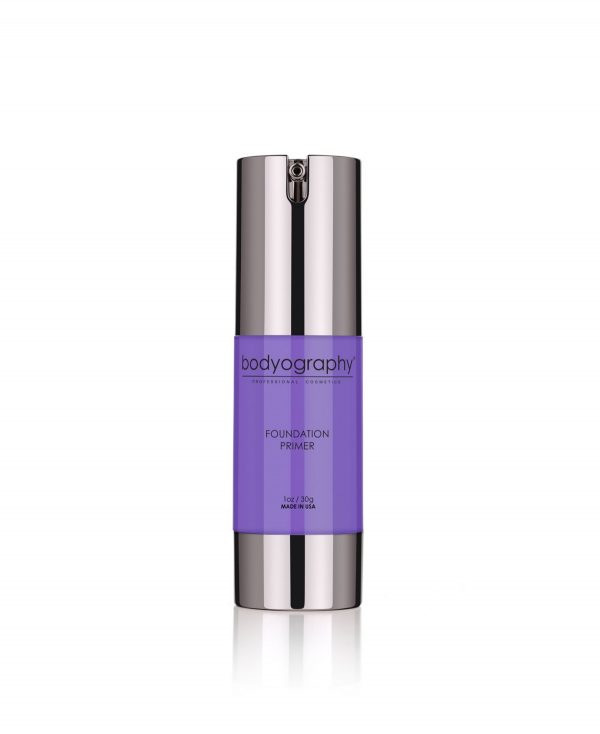
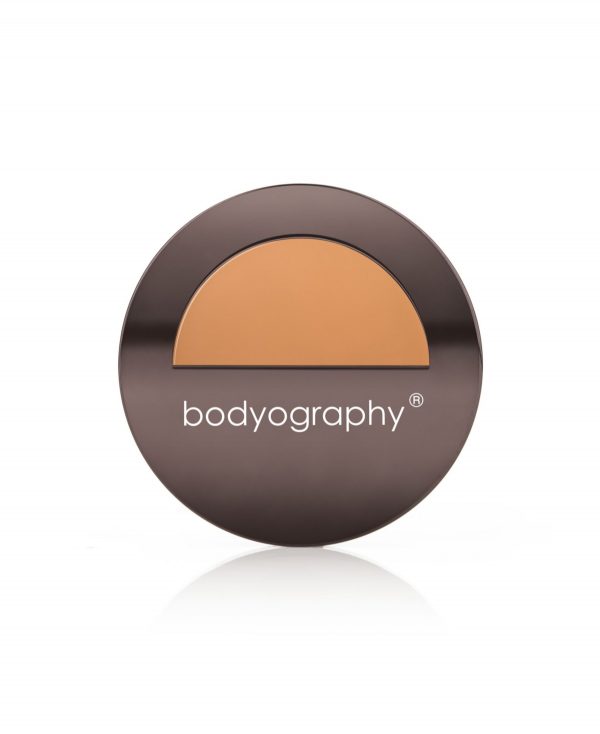
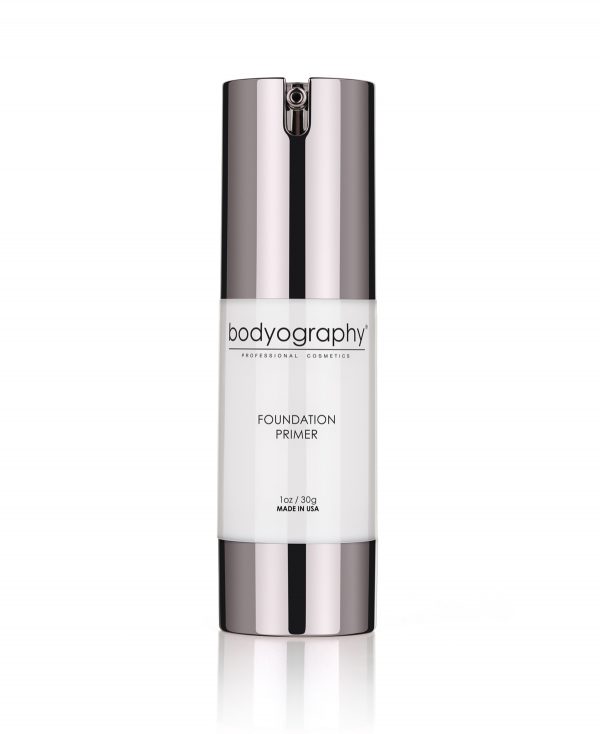
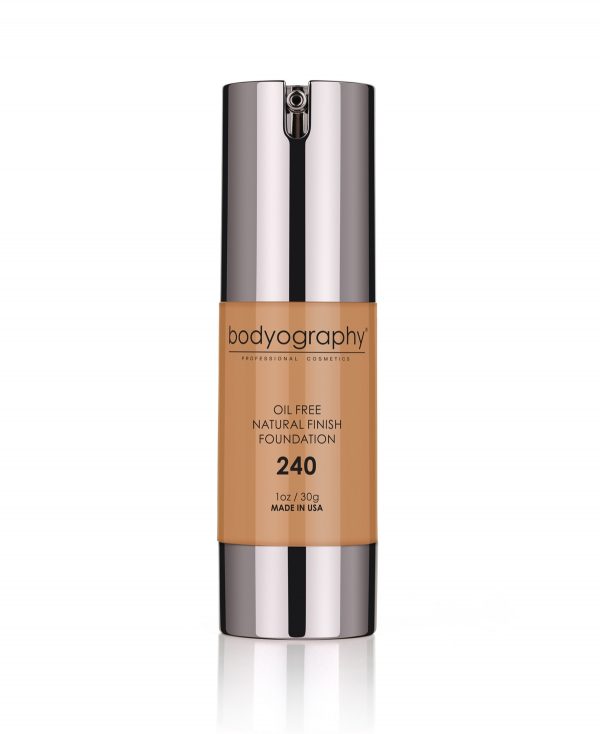
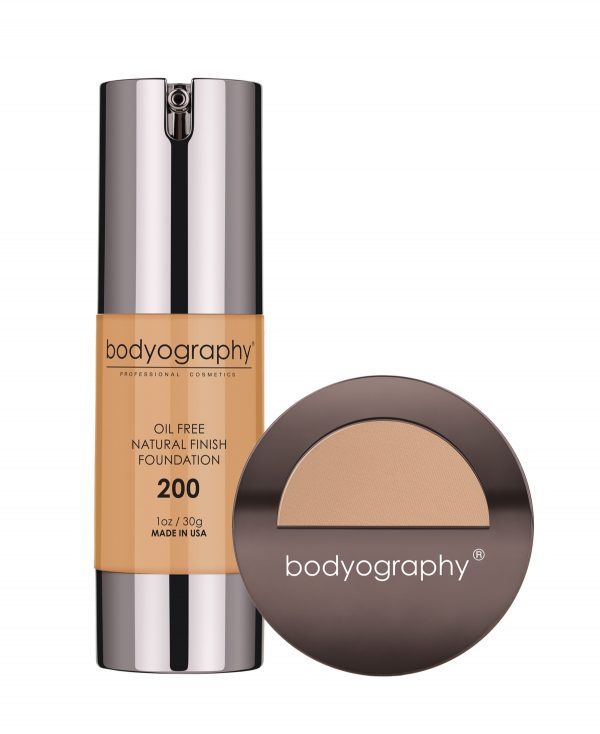
Bodyography Natural Finish Foundation, 1-oz. – Dark (warm undertone)
Foundation Face Makeup
Laura Geller Beauty Baked Balance-n-Brighten Color Correcting Foundation – Light

Foundation Face Makeup
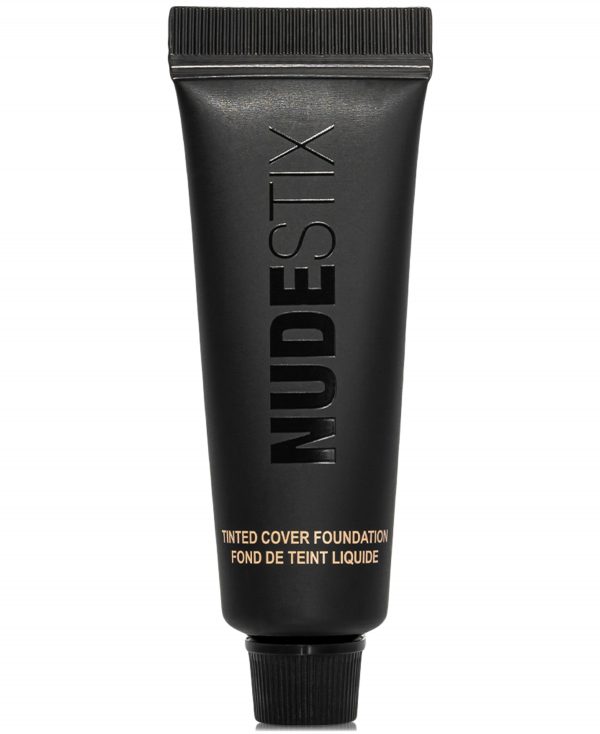
Nudestix Tinted Cover Foundation, 0.68 oz. – NUDE . (fair neutral cool)
Foundation Face Makeup
Bobbi Brown Skin Foundation Stick, 0.31 oz – Neutral Walnut (N-)
Foundation Face Makeup
Cle de Peau Beaute Radiant Cushion Foundation Dewy – Very Light Beige
Foundation Face Makeup
Foundation Face Makeup
Foundation Face Makeup
Bobbi Brown Skin Long-Wear Weightless Foundation Mini – Cool Ivory (C-) Cool fair beige with neu
Foundation Face Makeup
Foundation Face Makeup
Foundation Face Makeup
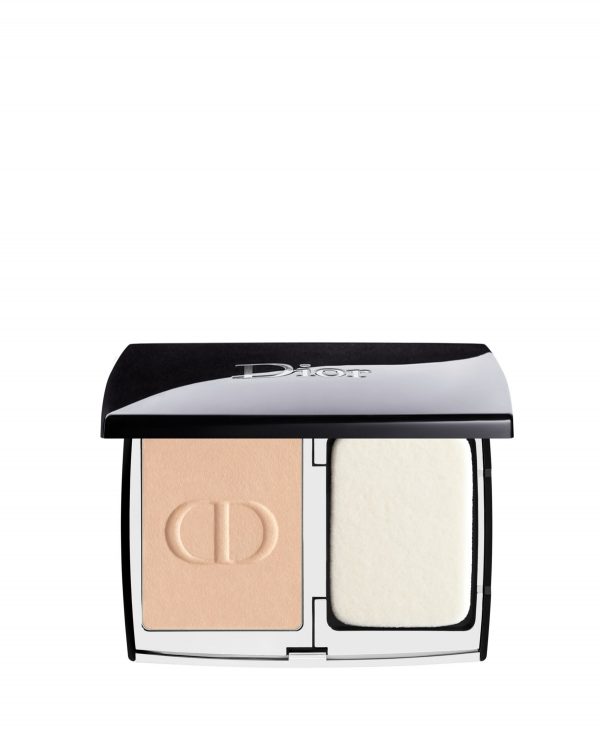
Dior Forever Natural Matte Velvet Compact Foundation – .N Neutral (Light skin with neutral beig
Foundation Face Makeup
Nudestix Travel-Size Tinted Cover Foundation, 0.16 oz. – Nude
Foundation Face Makeup
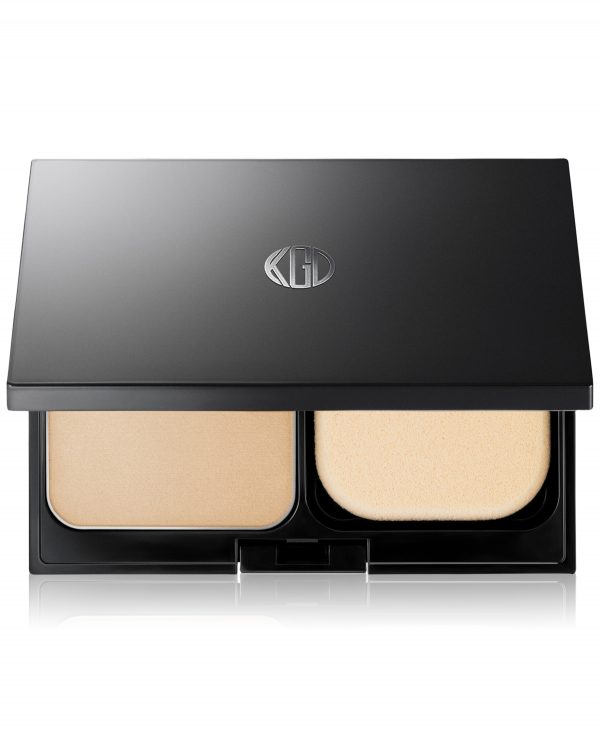
Koh Gen Do Gloss Film Powder Foundation (Refill), 0.32 oz. – Warm
Foundation Face Makeup
Foundation Face Makeup
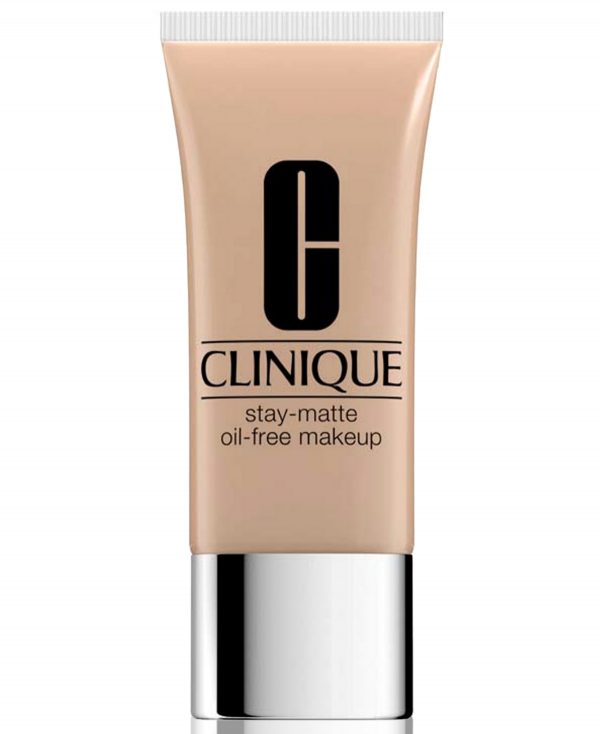
Clinique Stay-Matte Oil-Free Makeup Foundation, 1 oz. – CN Cream Whip
Foundation Face Makeup
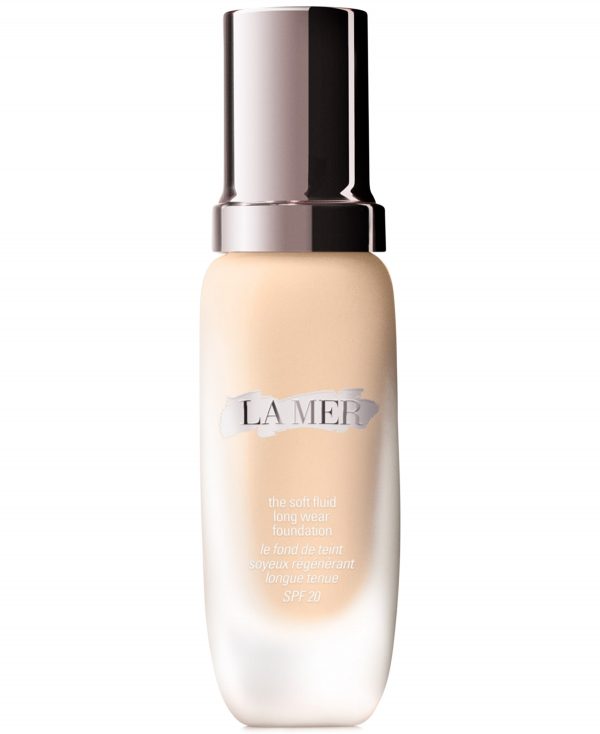
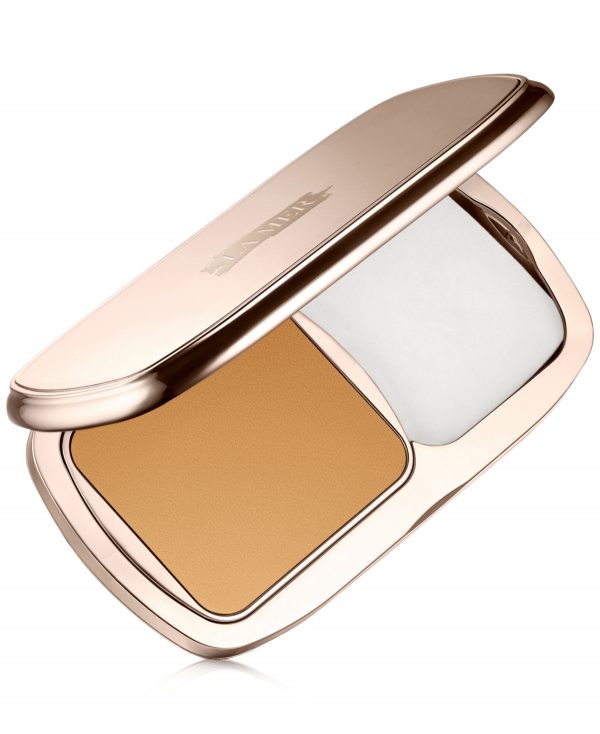
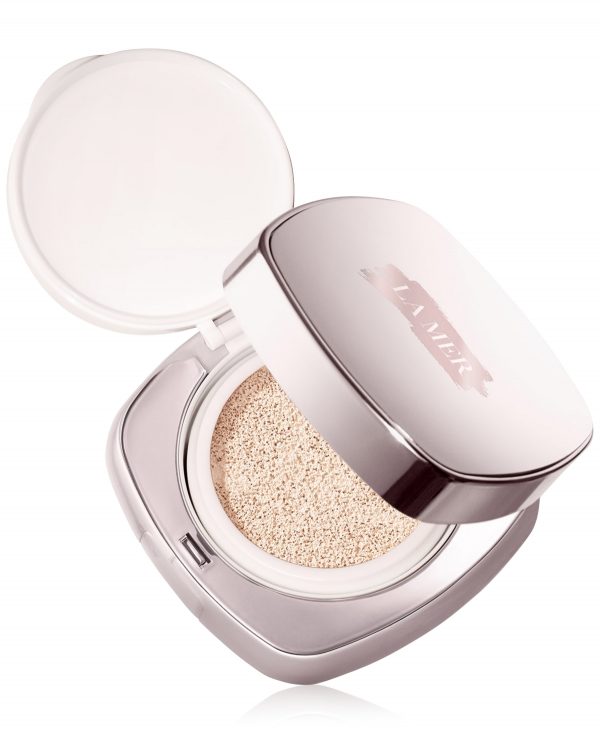
La Mer The Luminous Lifting Cushion Foundation – Neutral Ivory
Foundation Face Makeup
Foundation Face Makeup
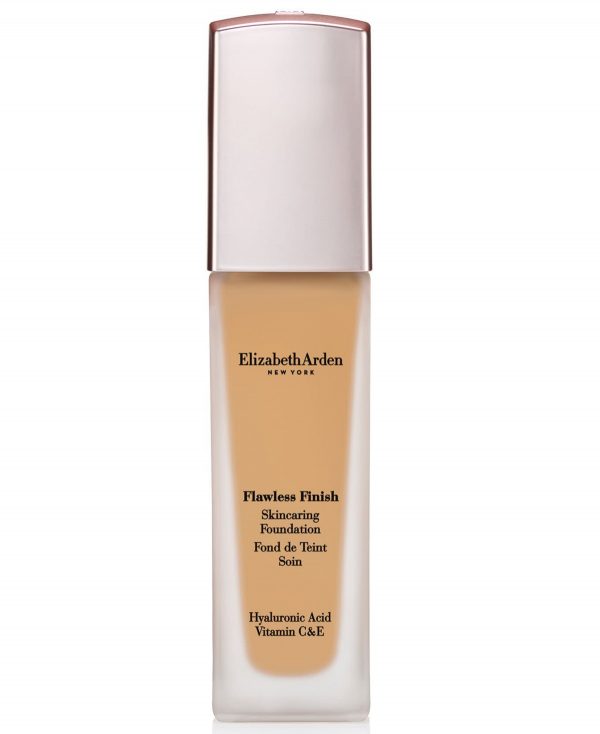
Elizabeth Arden Flawless Finish Skincaring Foundation – C (Medium skin with cool undertones)
Foundation Face Makeup
Foundation Face Makeup
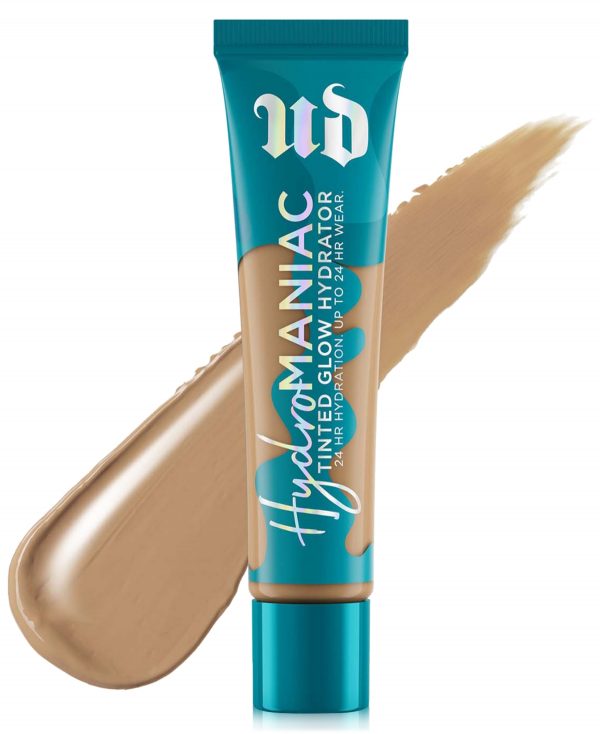
Urban Decay Hydromaniac Tinted Glow Hydrator Foundation – (light medium-neutral undertones)
Foundation Face Makeup
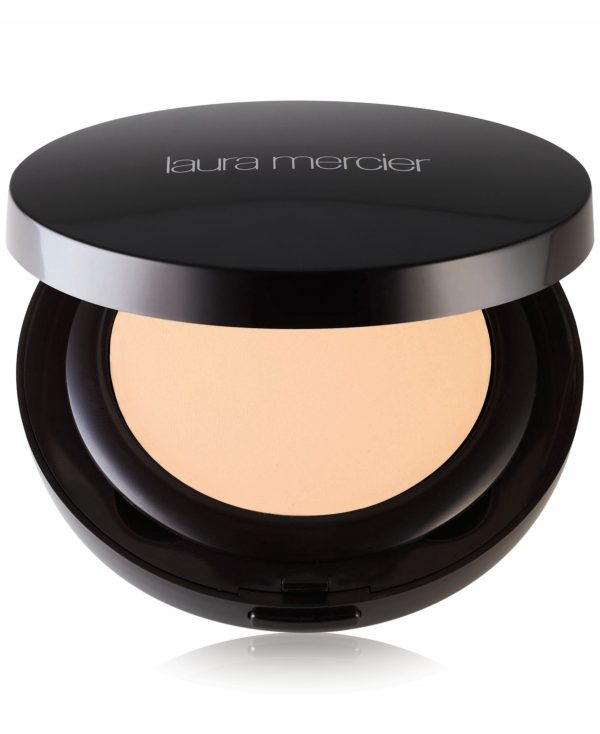
Laura Mercier Smooth Finish Foundation Powder Spf 20, 0.3 oz
Foundation Face Makeup
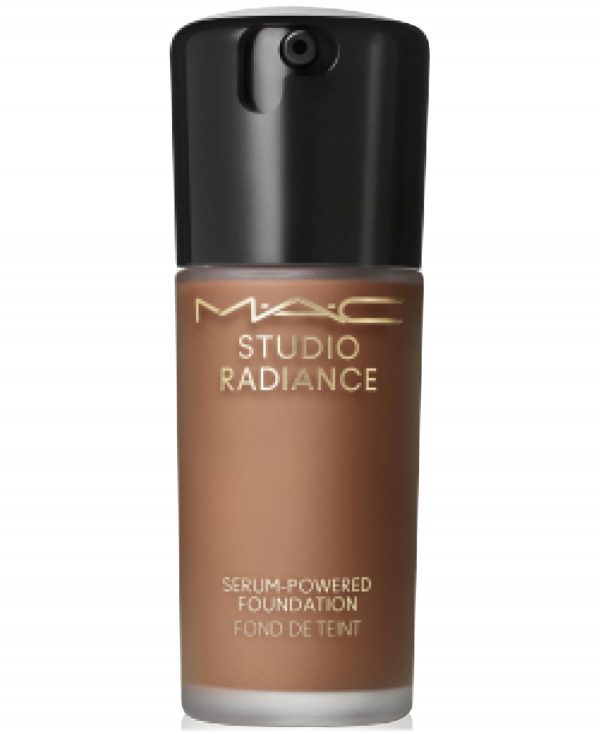
Mac Studio Radiance Serum-Powered Foundation – NC (dark deep rich brown with neutral un
Foundation Face Makeup
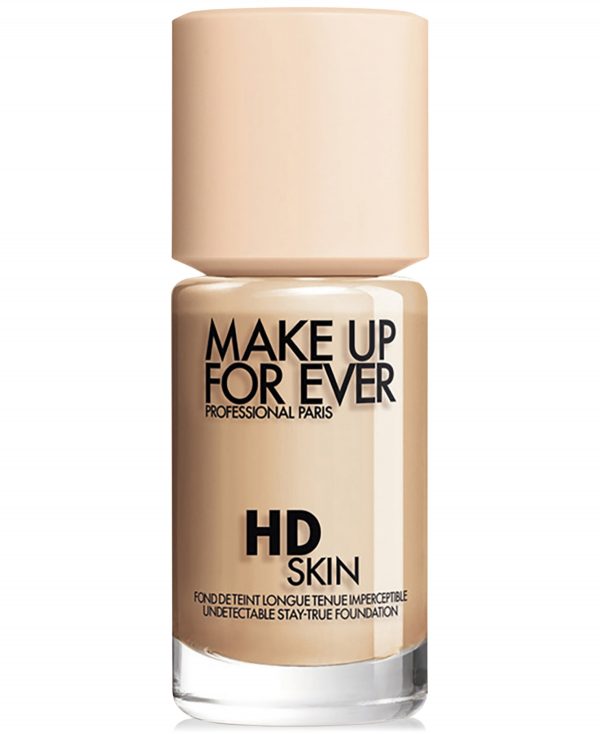
Make Up For Ever Hd Skin Undetectable Longwear Foundation – N – Beige (For Light skin tones with neu
Foundation Face Makeup
Foundation Face Makeup
Foundation Face Makeup
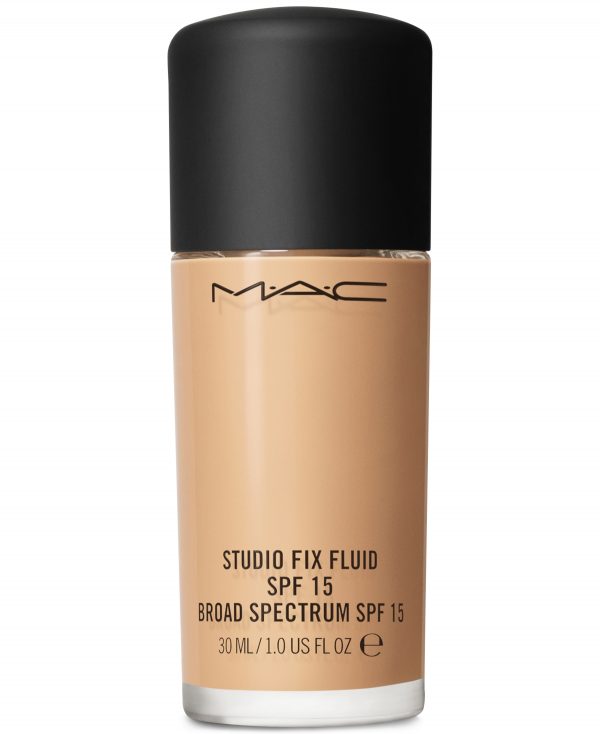
Mac Studio Fix Fluid Spf 15 Foundation, 1-oz. – NC (medium beige peach)
Foundation Face Makeup

Foundation Face Makeup
Clinique Even Better Clinical Serum Foundation Broad Spectrum Spf 25, 1-oz. – CN Cream Whip
Foundation Face Makeup
Tarte Amazonian Clay Blurring Powder Foundation – N Deep Neutral
Foundation Face Makeup
Foundation Face Makeup
Nars Sheer Glow Foundation, 1 oz. – Barcelona (M-Medium to medium-deep with
Foundation Face Makeup
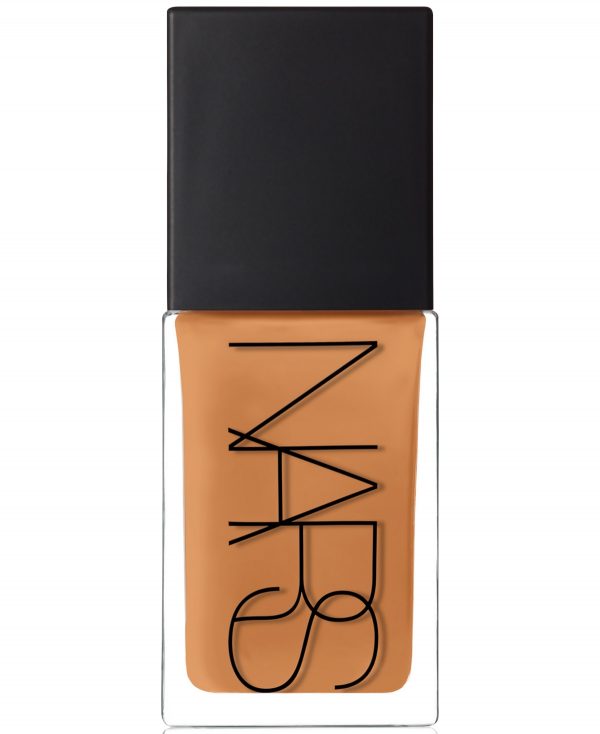
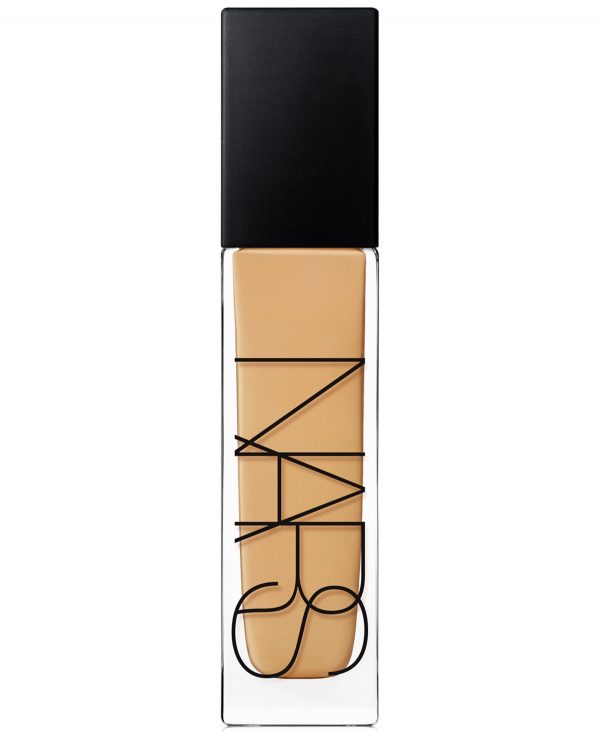
Nars Natural Radiant Longwear Foundation, 1 oz. – Stromboli (M – Medium with warm underton
Foundation Face Makeup
Foundation Face Makeup
Clinique Beyond Perfecting Foundation + Concealer, 1 oz. – Cream Chamois
Foundation Face Makeup
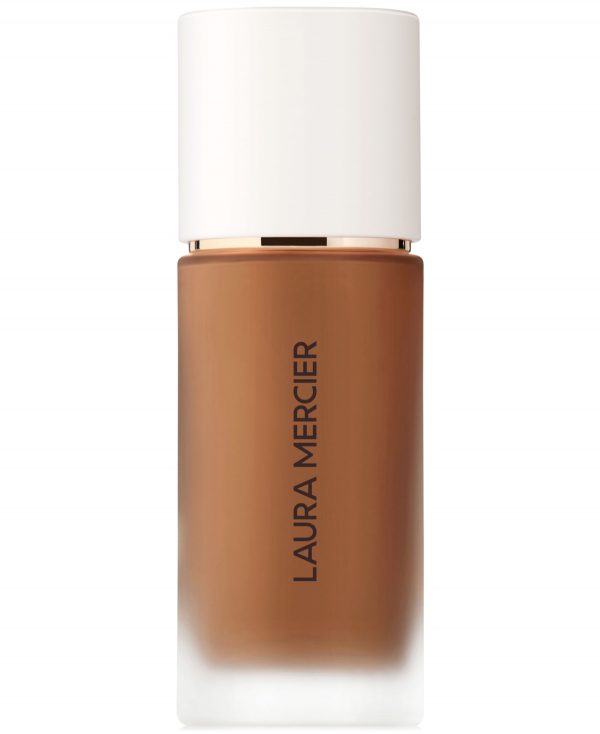
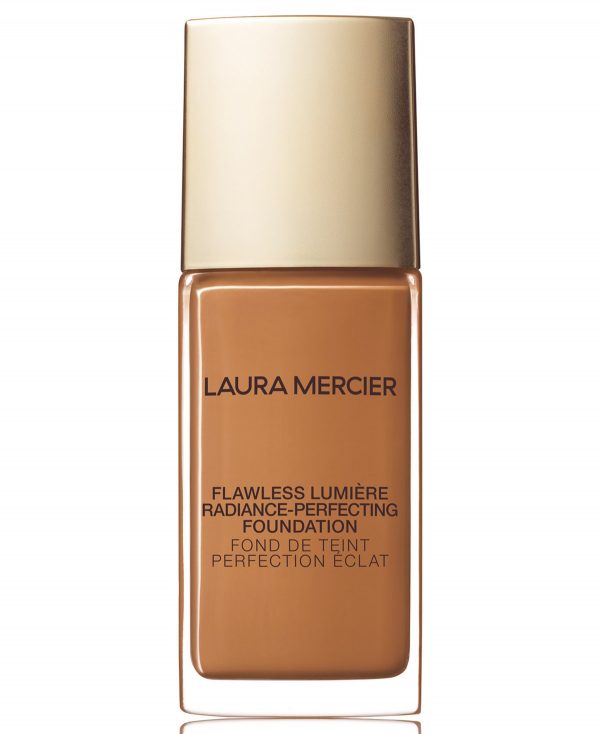
Laura Mercier Flawless Lumiere Radiance-Perfecting Foundation, 1-oz. – N Hazelnut